Self-Hostember #14: Backups
Table of Contents
ℹ️ This post is part of a series , and it assumes that you’ve followed the instructions from Day Zero first.
Introduction
If you’ve been following along, you’re probably the proud owner of at least one Docker service with data that you don’t want to lose.
Whether it’s book meta-data that would be annoying to rekey or irreplaceable forum posts, any data that gets created needs a plan for getting lost or corrupted and (ideally) restored or replaced.
Whole machine snapshots
One option that Colocataires does not offer is snapshots of your whole disk. For example, on a DigitalOcean droplet you have a section under “Backups” that looks like this:
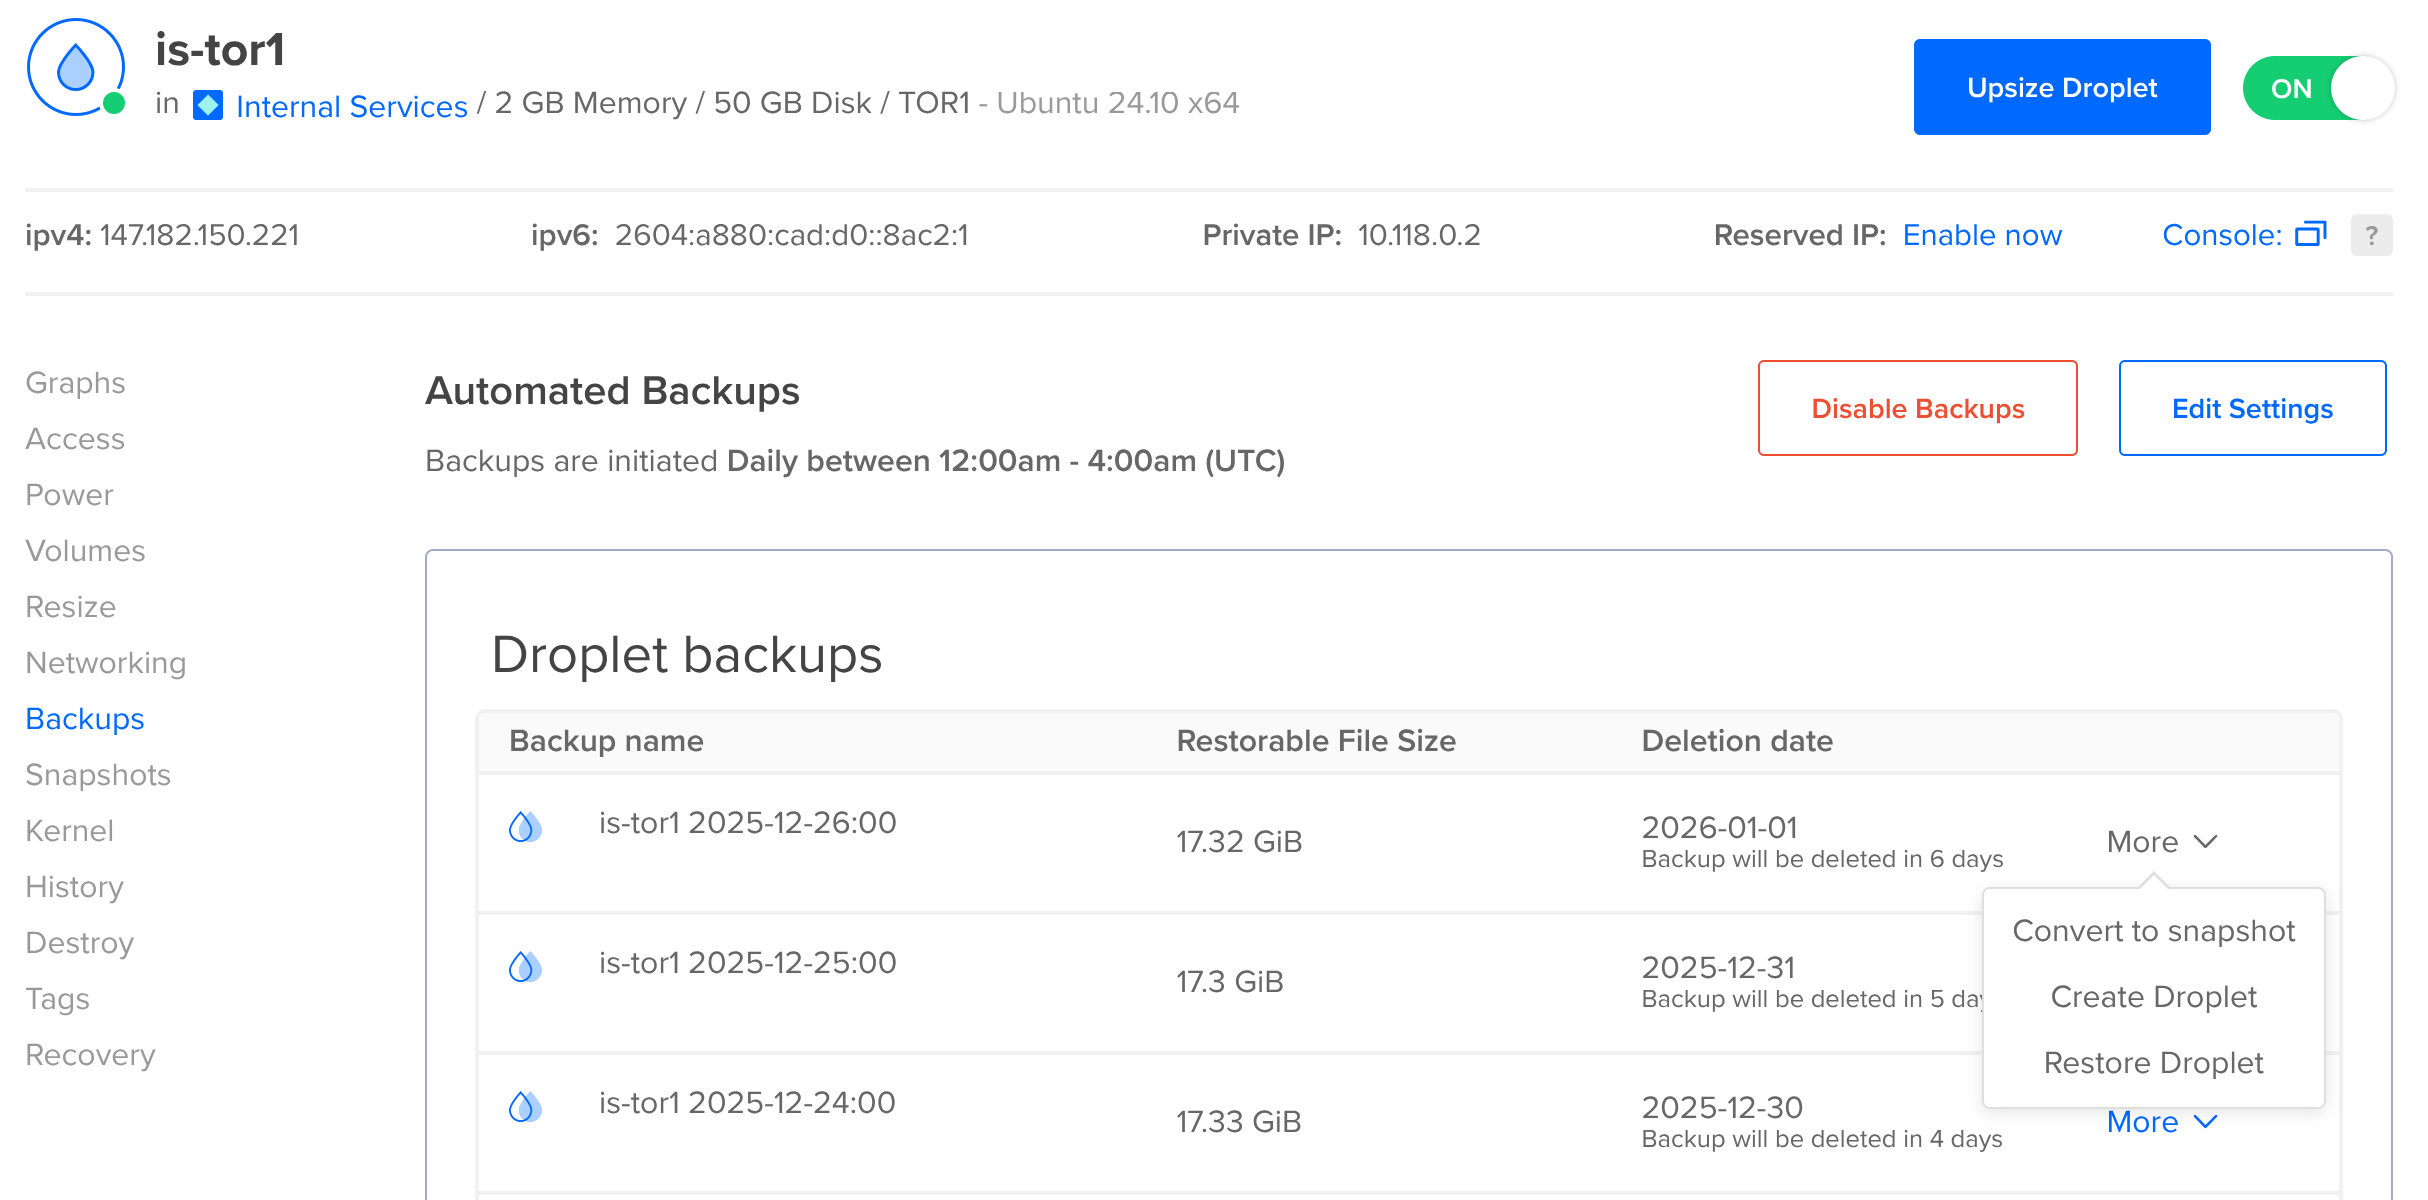
(We run a company droplet for things like our status page and our old Matrix server: when you are a hosting provider it’s important to know what not to host in your own rack).
Snapshots are probably the single easiest method of backing your data up – it’ll take the whole machine at once and modern databases will be happy with a crash-consistent snapshot: they’re designed to recover from crashes or power-loss, and restoring from a snapshot looks the same as that (to the database).
The major downside is that restoring a snapshot usually means rewinding the entire server to a point in time, losing all of the changes since then, or figuring out how to attach that disk and manually restore the data that you need from it.
rsync
If you have another Linux machine at a different provider, or at home, you can use rsync to copy your data. You can push (from the VM running Docker to another VM) or pull.
The simplest case: if I want to backup my virtual machine locally, while preserving permissions etc. I can pull a copy of my home directory by running:
sudo -E rsync -Pvrax --rsync-path='sudo rsync' --delete insom@debian13:/home/insom/ insom-backup/
This command will become root (sudo), while preserving the environment (-E) so that my SSH agent still works. It’ll show progress (-Pv) while it copies, and it’ll recurse into folders and “archive” (ra) every file, storing the modification times, permissions etc.
x will stop it following filesystem boundaries, so you don’t end backing up /proc or something. --rsync-path='sudo rsync' tells it to become root on the remote side (the virtual machine) so that we can access all of the files we need — while the files that we created were all owned by us, other files created by Dockerized processes might be owned by root or other users.
Finally, insom@debian13:/home/insom/ is the source, and insom-backup/ is the destination. Those trailing slashes are important, if you don’t specify them like this then you could end up with an insom-backup/insom directory being auto-created for you.
This is better than nothing! But automating and securing it properly would require creating a dedicated key with no password so that it can be run from cron. Susan Lauber wrote a guide to setting this up but even then, this doesn’t solve problems like keeping historical backups, so I recommend this only to the laziest admins with the least to lose 😀
restic to object storage
restic bills itself as “Backups done right!”.
It’s available in Debian and Ubuntu repositories (apt install restic) and its data format is stable. I have high confidence that its volumes will remain readable for a long time: certainly as long as I would need to read them. I use restic personally for workstation and server backups.
One of the first decisions we’ll need to make when using restic is where to store the backups. Colocataires doesn’t offer object storage (yet!) and even if we did, it’s probably a good idea to keep your backups off-site.
Backblaze sidebar
One choice is Amazon S3 but (in the spirit of not making Jeff Bezos richer) let’s use the S3-compatible Backblaze service. You’ll need to sign up for an account and be aware that there will be a monthly cost associated with your storage. Currently, that’s US$0.006 per GiB stored along with some costs for uploading and listing. I have 150GiB stored and pay less than two dollars per month.
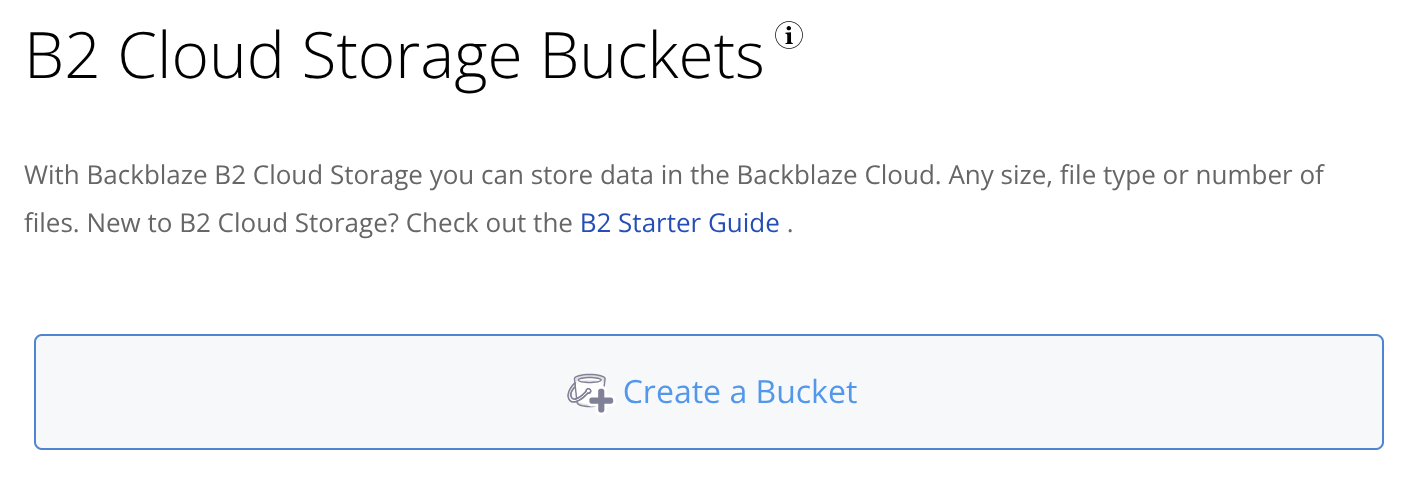
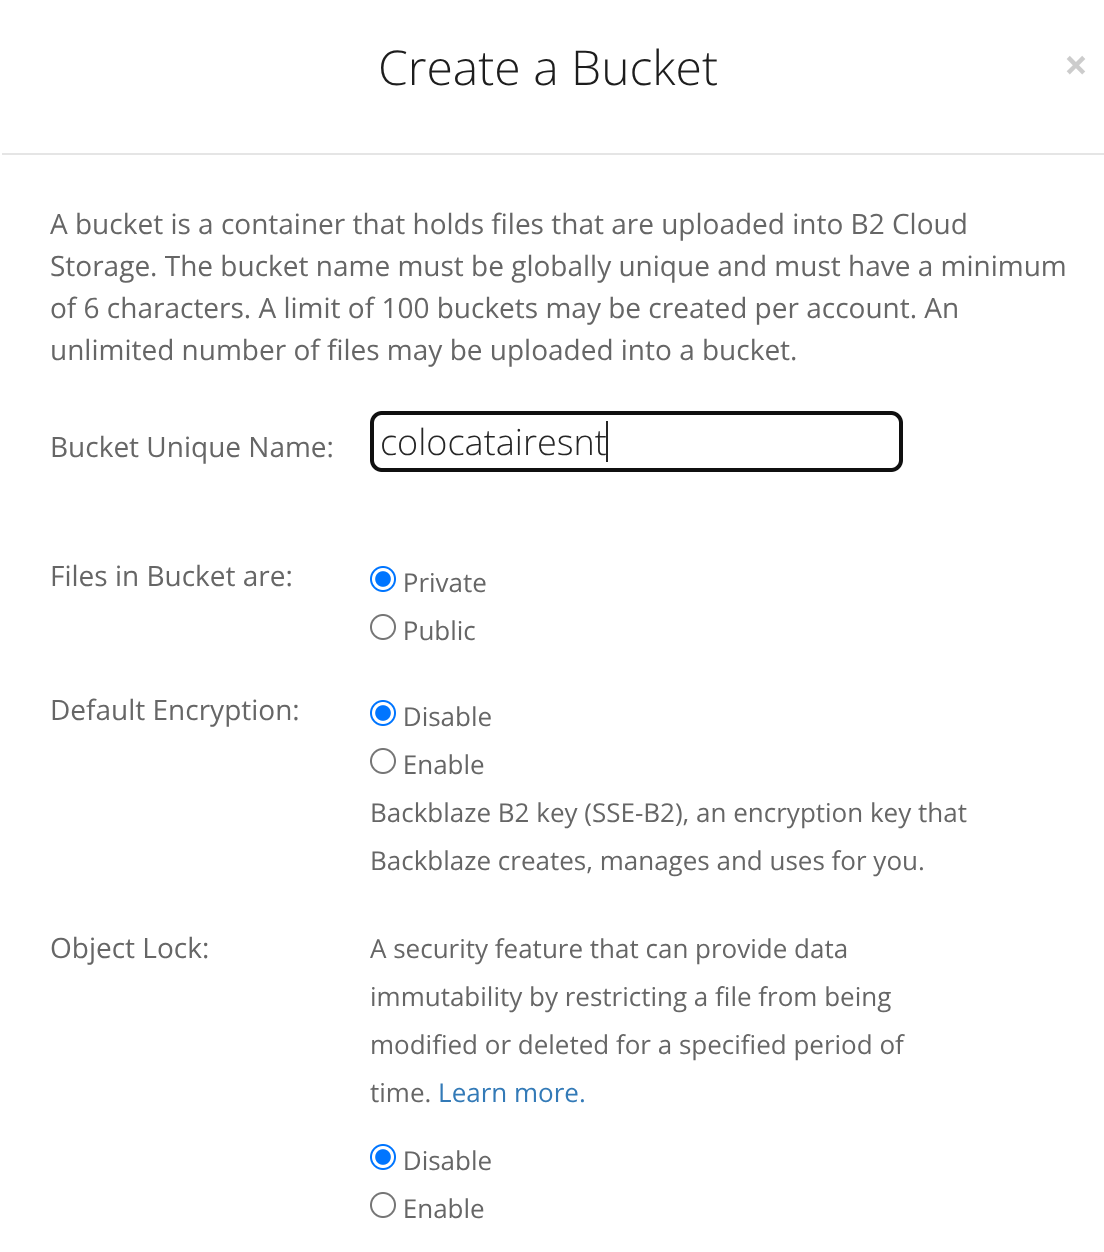
We’ll create a bucket:
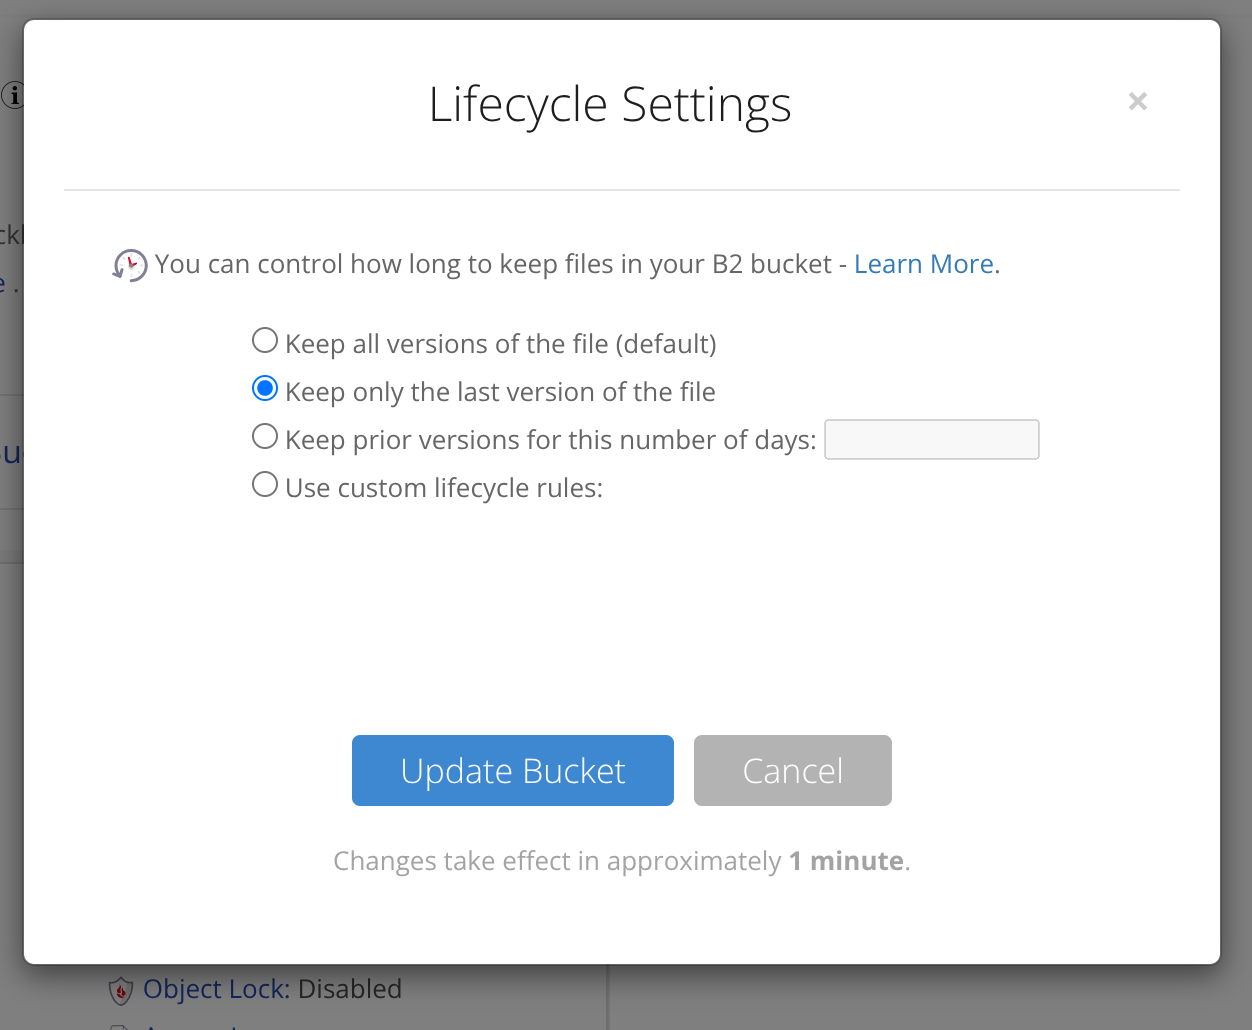
It’s important to tell Backblaze that we only want to keep the current version of each file – this is because restic will manage snapshots and retention for us. Without this, files will basically live forever in your Backblaze account as therefore you’ll be billed for “deleted” files:
We’ll click on “How to connect to this bucket” to create an application key that we can use to authorize restic:
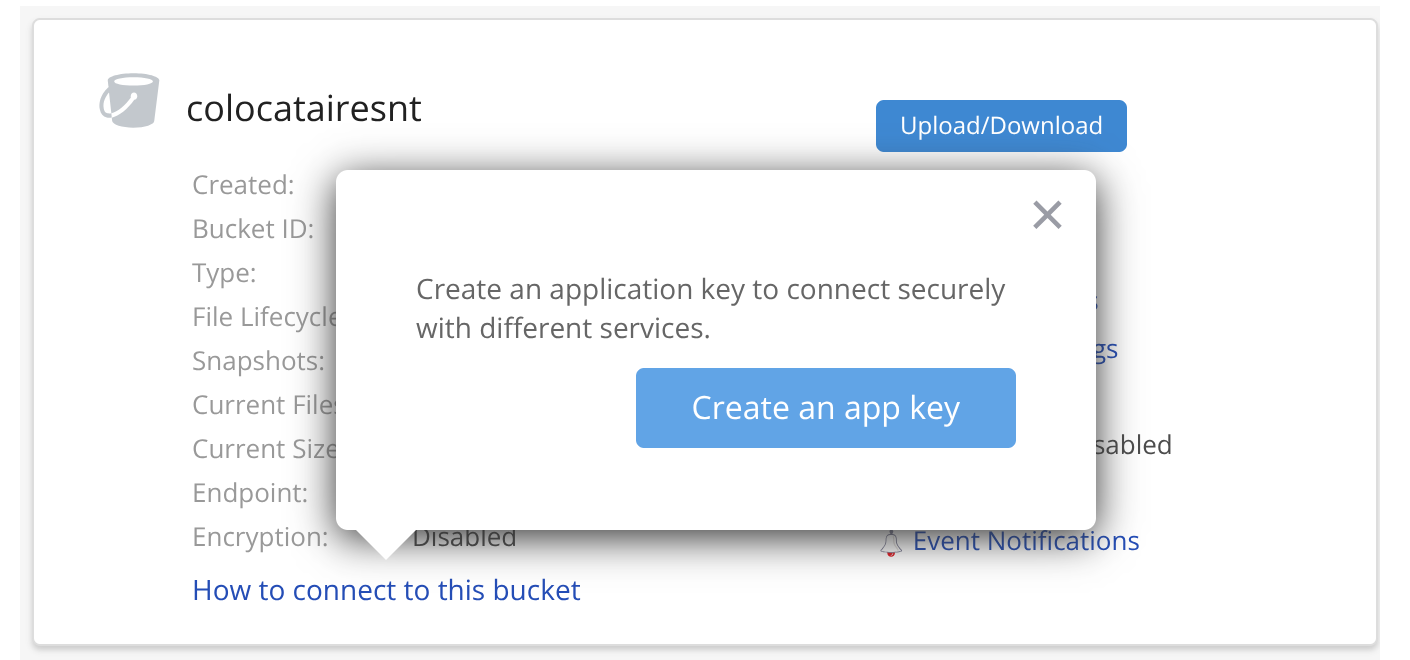
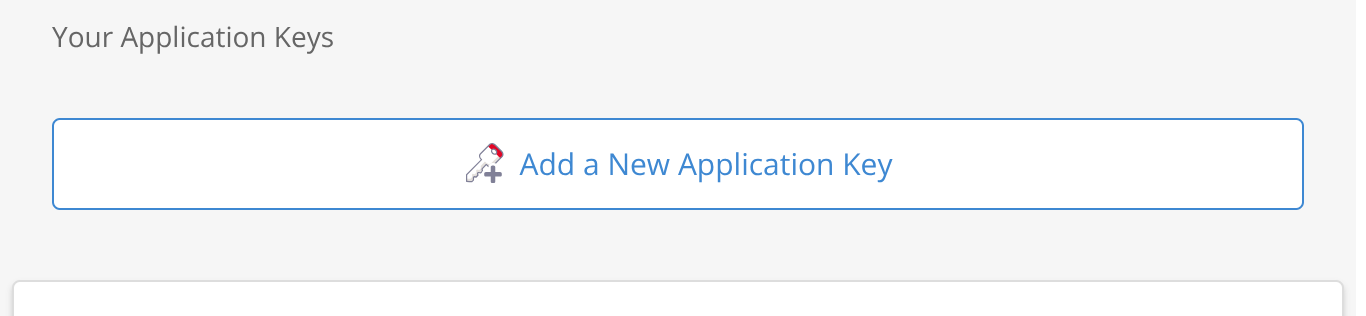
This brings us to a slightly confusing page which includes a master key (not shown). You can’t use this key to talk to the S3-compatible API (nor should you, it’s all-powerful). We’ll click another button to create a specific key:
Here’s the settings I chose, giving the key access to only one bucket:
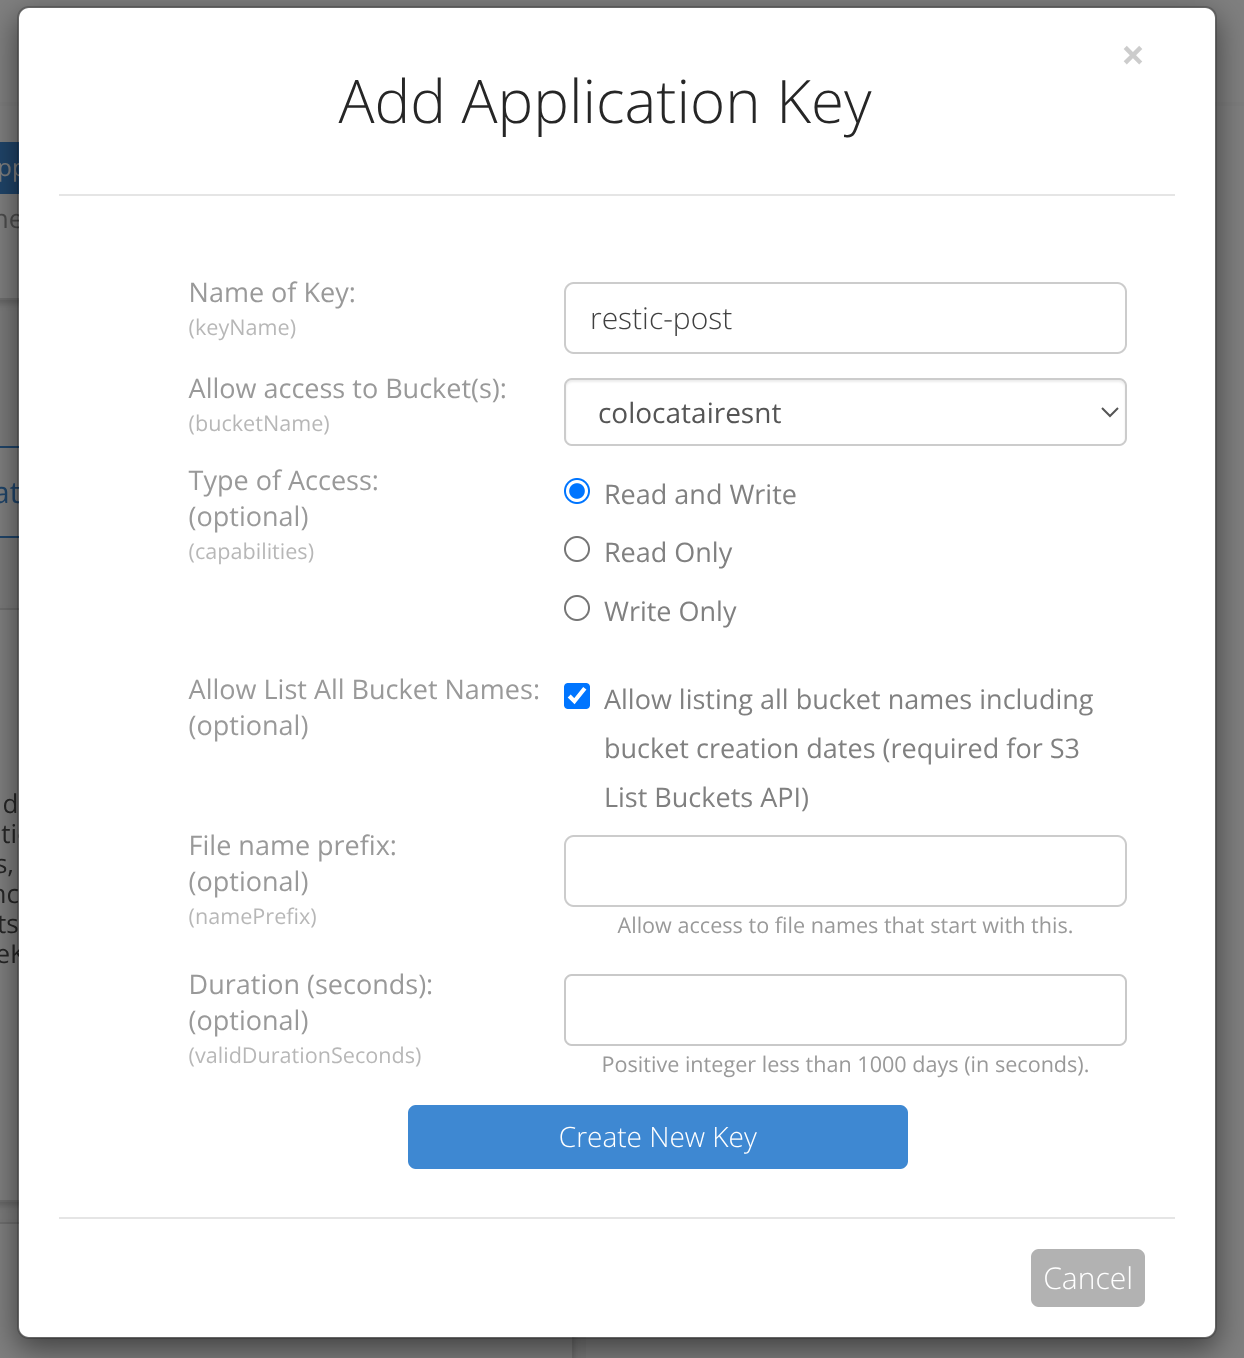
You absolutely must copy the applicationKey at this stage and save it somewhere. You will not be able to view it again.

Wow. This was a lot of clicking. We’re done with clicking and we can switch back to typing on our VM.
Back to restic
Make sure it’s installed, of course.
sudo apt install restic
And then let’s prepare an environment file – we can use this from scripts as well as interactively. I call mine RESTIC-ENV:
# The endpoint was listed on the bucket properties page.
export RESTIC_REPOSITORY="s3:https://s3.us-east-005.backblazeb2.com/colocatairesnt/debian13"
# A memorable password for encrypting the backup. If you lose this, you've lost your data.
export RESTIC_PASSWORD="hunter2"
# The keyID from Backblaze.
export AWS_ACCESS_KEY_ID="005a1083f6230cd0000000003"
# The applicationKey from Backblaze.
export AWS_SECRET_ACCESS_KEY="Xhello7nrCvhunter2/Qhdt7hunter2Expasswor"
Two things of note. We’re using Backblaze’s S3-compatible API
because the restic docs recommend that
– which explains the “AWS” prefixes. And I’ve added debian13 (my machine’s name) to the end of the bucket URL.
This means that I can use one bucket for multiple backups, storing each inside a subdirectory. You don’t need to do this, but it’s harmless if you do and gives you future options so: why not?
We can source this config file (loading it into our shell’s environment) and then initialize the repository
source ./RESTIC-ENV
restic init
Man, we can finally actually take a backup. I hope that you’re as excited as I am. The directories that you want to back up will be personal to your situation, but as storage is cheap I am going to back up my whole home directory.
However, as with rsync, above, we will need to become root to perform the backup. That’s because some of the files that we need to read will be owned by other users. sudo -E will help here because it will keep our environment (with our access keys) while becoming root:
sudo -E restic backup ~insom
It worked, and I got to see what was being stored as it was happening. Neat.
insom@debian13:~$ sudo -E restic backup ~insom
repository 8a63deab opened (version 2, compression level auto)
created new cache in /home/insom/.cache/restic
no parent snapshot found, will read all files
[0:00]          0 index files loaded

Files:        2739 new,     0 changed,     0 unmodified
Dirs:          230 new,     0 changed,     0 unmodified
Added to the repository: 489.746 MiB (298.063 MiB stored)

processed 2739 files, 705.023 MiB in 0:26
snapshot 82b63066 saved
Another thing we can run, which will do nothing at this stage, is a forget operation:
sudo -E restic forget -q --keep-daily 3 --keep-weekly 4 --keep-monthly 3 --keep-yearly 1 --prune
This is going to tell restic to keep three daily backups, four weeklies, three monthlies and an annual backup. As we only have one backup right now, there’s nothing for it to prune and it won’t do anything, but it’s good to verify that it works before we add it to a script.
Last couple of steps! We’ll create a script and we’ll run it daily from a cron. Here’s backup.sh:
#!/bin/bash
set -eu -o pipefail
source ./RESTIC-ENV
sudo -E restic backup ~insom
sudo -E restic forget -q --keep-daily 3 --keep-weekly 4 --keep-monthly 3 --keep-yearly 1 --prune
And we can crontab -e and set it to run every night:
# 5:05 AM, every day.
5 5 * * * bash backup.sh
🎉
Consistent backups
Did you think we were done? There’s one snag, so far. Databases are able to recover from a crash-consistent state as long as all of the data is from the same moment.
If some data is newer than other data, then you may not be able to recover. The way that restic (and rsync) takes backups means that each file is backed up separately and there’s no consistency. The correct thing for us to do is force “quiescence” (great Scrabble word) by pausing writes while we run the backup.
Old versions of docker sent a SIGSTOP signal to each process to pause them, with mixed results. Newer versions move the processes to a cgroup with no budget , which pauses writes. Genius.
We’ll also our script to pause every container before the backup and resume after:
#!/bin/bash
set -eu -o pipefail
source ./RESTIC-ENV
docker pause $(docker ps -q)
sudo -E restic backup ~insom
docker unpause $(docker ps -q)
sudo -E restic forget -q --keep-daily 3 --keep-weekly 4 --keep-monthly 3 --keep-yearly 1 --prune
We don’t need to keep things paused while the restic forget stage happens. Be aware that if the backup stage fails, your containers will stay paused until you intervene manually.
Maybe we need a follow up post on monitoring your services? 🤔
Nobody wants backups but everyone wants restores
We are in the home stretch.
It’s nice to feel the warm glow of taking backups but I am here to tell you that they are useless without a plan for restoring them. And you don’t want to make up the plan for restoring them while your service is broken.
If you’re rebuilding from scratch, you should be able to restore whole services with (for example):
sudo -E restic restore latest:/home/insom/owlbear-rodeo-legacy --target /home/insom/owlbear-rodeo-legacy/
(you must specify --target on restore, even if it’s the same location: for safety!)
Then you can switch to that folder and docker compose up -d just like before.
If you’re only restoring some data, you should make sure that the container who’s filesystem you’re restoring is stopped (and not just paused) while you make the change:
insom@debian13:~$ docker stop booklore
booklore
insom@debian13:~$ ls bl
bookdrop  books  data  docker-compose.yml  mariadb
insom@debian13:~$ sudo -E restic restore latest:/home/insom/bl/books/ --target bl/books/
repository 8a63deab opened (version 2, compression level auto)
[0:00] 100.00%  1 / 1 index files loaded
restoring snapshot 82b63066 of [/home/insom] at 2025-12-26 18:52:49.432135954 -0500 EST by root@debian13 to bl/books/
Summary: Restored 7 files/dirs (0 B) in 0:00, skipped 4 files/dirs 2.282 MiB
Conclusion
Yes. We are actually done now. This is only one way to perform backups – there’s really a lot of choices out there. That said: I think it’s a good start.
Several of the bigger packages that we covered have their own capacity for backups (such as Discourse) which they have covered in their documentation . If you’re serious about using these services, it’s worth reading those guides too.
Welcome to being a system adminstrator ❤️ we’re glad you’re here.
Thanks for reading this far, and follow along for future posts in #Self-hostember . You can now follow us on Mastodon to keep up to date with us as well!