Self-Hostember #7: Dawarich
Table of Contents
ℹ️ This post is part of a series , and it assumes that you’ve followed the instructions from Day Zero first.
Introduction
Today we will try to de-Google at least one aspect of our lives: location tracking!
I don’t need to convince the privacy-conscious among us of the benefits of hosting this yourself, but even if you fall on the other side of the convenience-privacy equation here, there is still a lot to be said about having access to raw data and being able to build insights on top of that.
This will be made possible for us today by Dawarich . It helpfully self-describes as a Google Timeline alternative, which I appreciate.
We will also integrate it with Pocket ID, that we installed in the last issue of this series to centralize authentication!
Install Dawarich with Docker
Installing Dawarich is rather straight-forward. It is a Ruby on Rails application which uses Sidekiq heavily. That means installing at least 4 components: the app, the database (PostgreSQL), the Sidekiq workers and Redis for Sidekiq. Sounds complicated, but all of it can be easily set up with their docker-compose instructions .
First, as with the previous days, let’s set up our stage:
mkdir dawarich
cd dawarich
Then let’s get the docker-compose.yml file from their repo:
wget -O docker-compose.yml https://raw.githubusercontent.com/Freika/dawarich/refs/heads/master/docker/docker-compose.yml
We will also fetch the .env file while we are at it, to customize passwords and such.
wget -O .env https://raw.githubusercontent.com/Freika/dawarich/refs/heads/master/docker/.env.example
In the .env file we will make some modifications. Let’s enumerate them as diffs:
Change environment
We ship straight to production, of course. Don’t @me.
 # Rails environment: development, staging, or production
-RAILS_ENV=development
+RAILS_ENV=production
Change DB credentials
Change the password to something strong here.
@@ -14,17 +14,17 @@ RAILS_ENV=development

 # PostgreSQL credentials
 POSTGRES_USER=postgres
-POSTGRES_PASSWORD=password
+POSTGRES_PASSWORD=changeme

 # Database name
-POSTGRES_DB=dawarich_development
+POSTGRES_DB=dawarich_production

 # Database connection settings (used by Rails app)
 DATABASE_HOST=dawarich_db
 DATABASE_PORT=5432
 DATABASE_USERNAME=postgres
-DATABASE_PASSWORD=password
-DATABASE_NAME=dawarich_development
+DATABASE_PASSWORD=changeme
+DATABASE_NAME=dawarich_production
Change domains
Since we are behind caddy (coming up next) we will change this to reflect that:
@@ -43,13 +43,13 @@ DAWARICH_APP_PORT=3000
 # Application hosts (comma-separated)
 # Development: localhost
 # Production: your-domain.com,www.your-domain.com
-APPLICATION_HOSTS=localhost,::1,127.0.0.1
+APPLICATION_HOSTS=dawarich.sh.pawan.link
Configure Time Zone
This should be whatever you want it to be. Since we are in 🇨🇦:
 # Time zone
-TIME_ZONE=Europe/London
+TIME_ZONE=America/Toronto
Change Secret Key
This secret key is used by Rails for cryptographical purposes. You can generate one for yourself with openssl in a new terminal session:
openssl rand -hex 64
And copy that value over to the file (keep it private, don’t share over the internet in any form of course):
@@ -71,7 +71,7 @@ STORAGE_BACKEND=local
 # Generate with: openssl rand -hex 64
 # Leave empty for development
 # REQUIRED for production and staging environments
-SECRET_KEY_BASE=
+SECRET_KEY_BASE=<paste here, remove the brackets>
And we are almost there! There is one last thing to change in the config, which is to configure our OIDC provider. Since we installed Pocket ID already , we can use that.
Integrate with Pocket ID for authentication
To integrate with Pocket ID, first navigate to your Pocket ID instance and authenticate yourself. You need to have admin access to Pocket ID for the following steps.
- Navigate to
Administration > OIDC Clients

- Click on ‘Create Client’ and fill in the details.
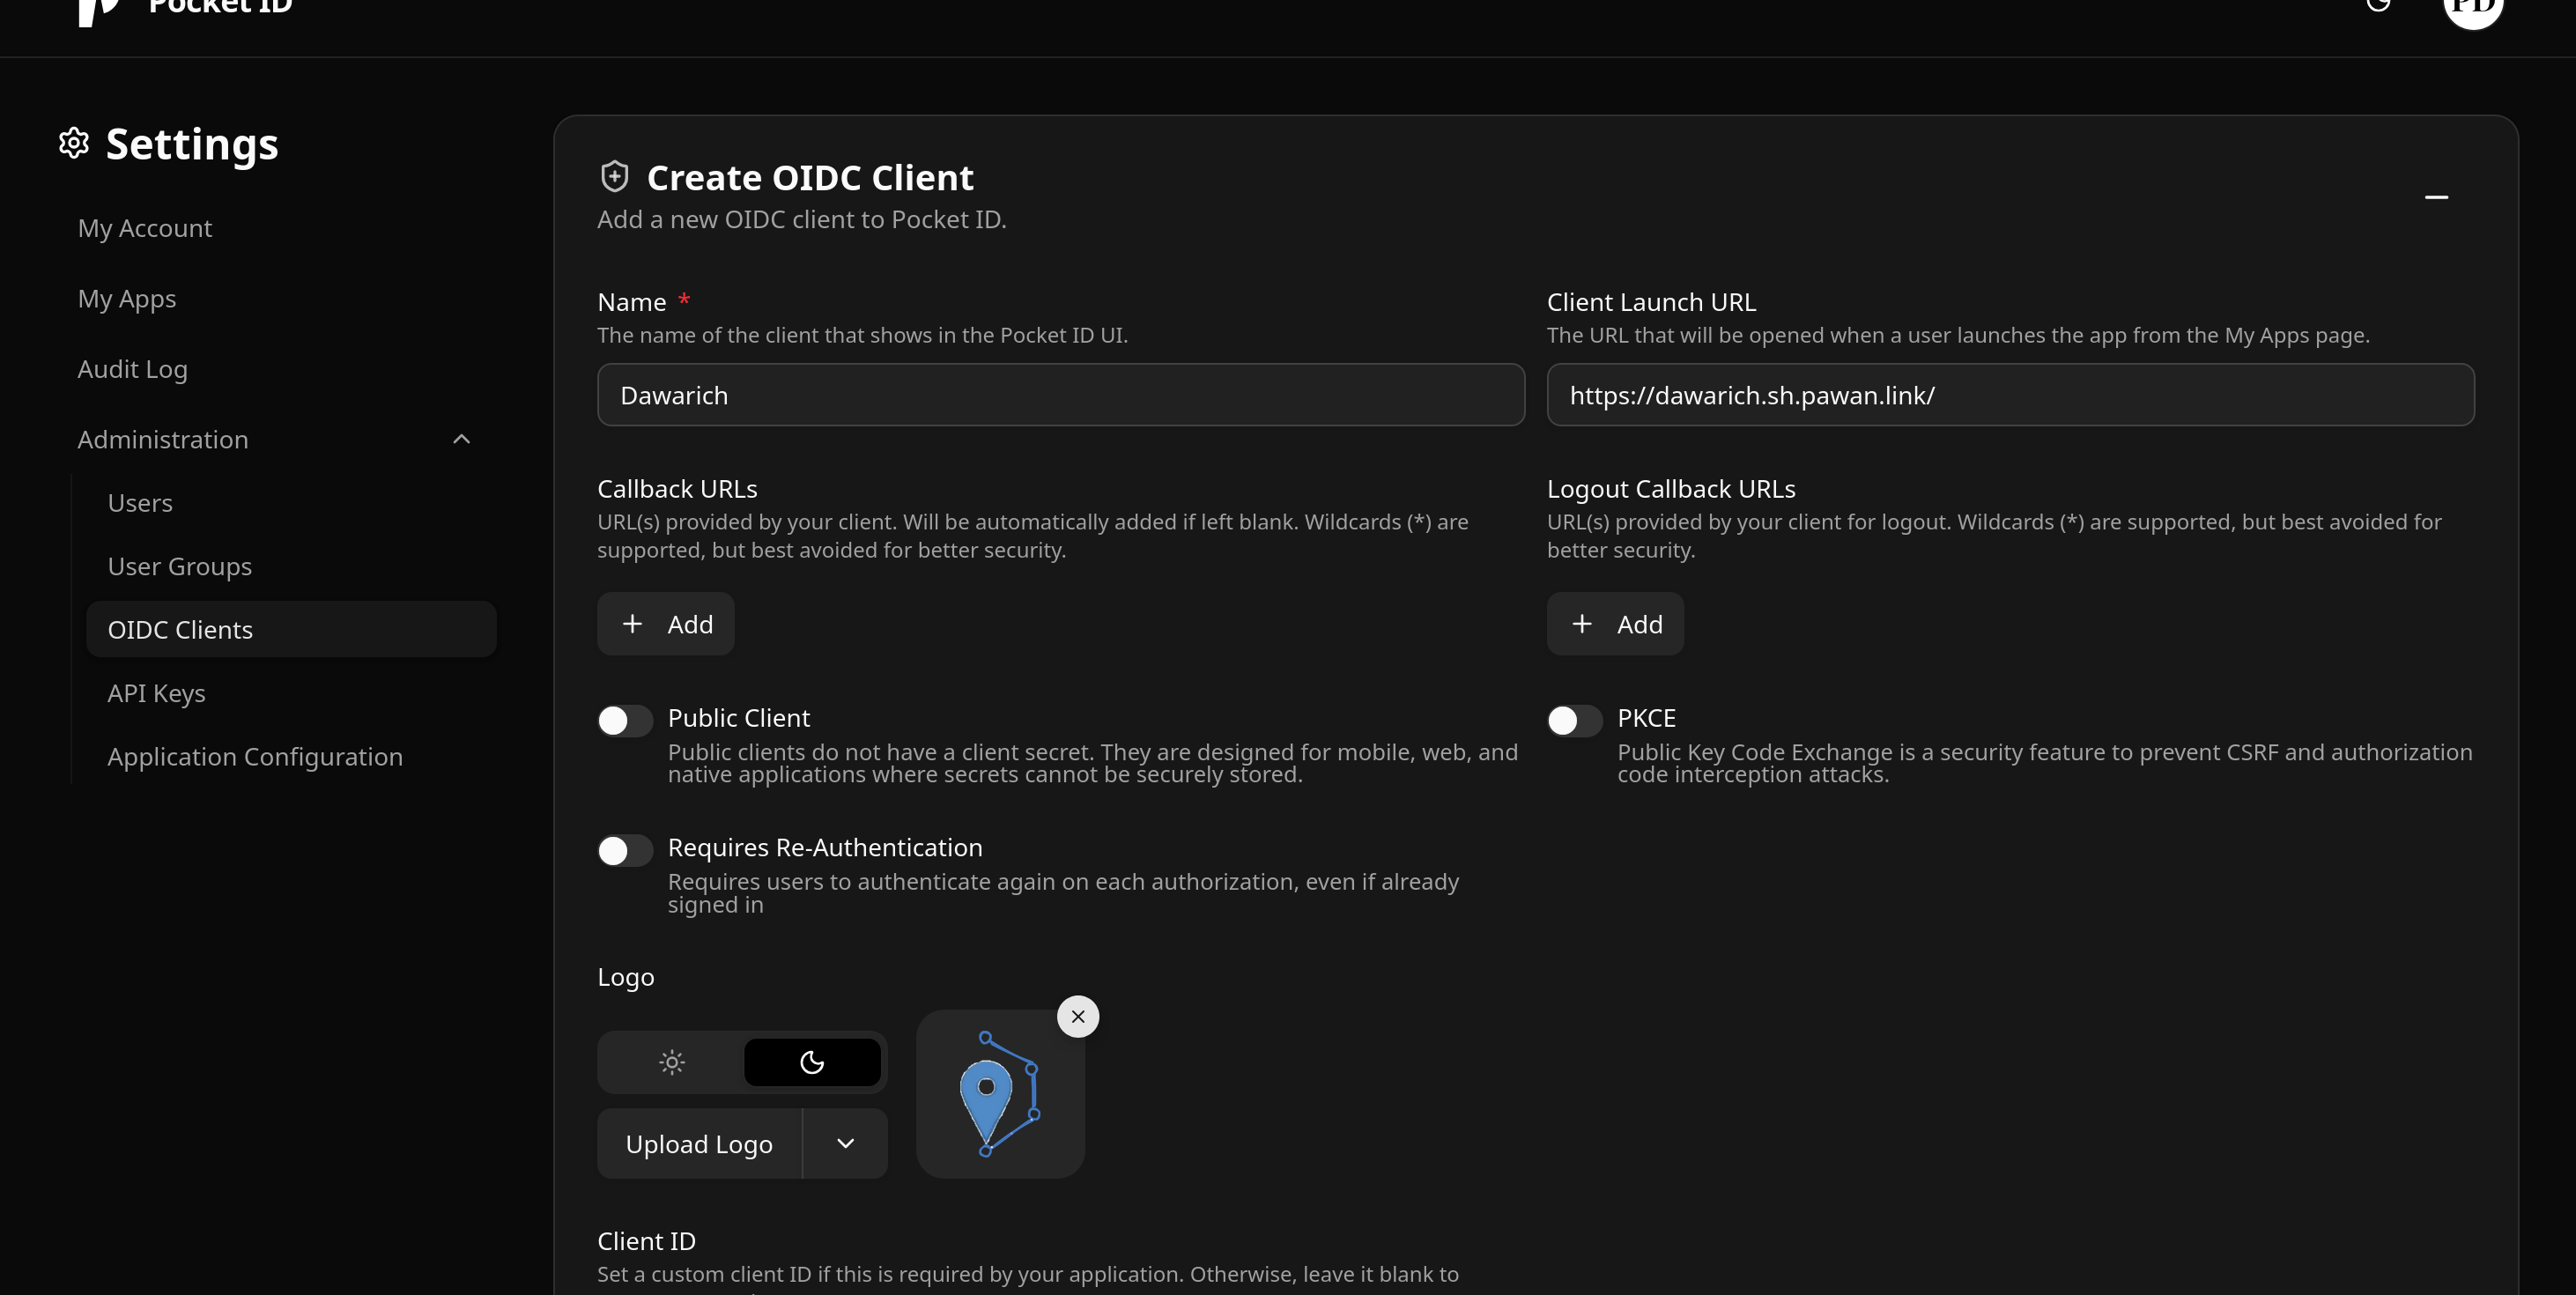
Click on Save. You will be presented with a Client ID and Client Secret. Copy them someplace secure. We will use them in a bit. The secret is what it sounds like and should not be shared openly.

On this page you can configure more things like only allowing access to a specific group of users etc, but we have enough for now.
- Take the client details and put them in the
.envfile from above.
@@ -149,23 +149,23 @@ APP_MEMORY_LIMIT=4G
 # Option 1: Using OIDC Discovery (Recommended)
 # Set OIDC_ISSUER to your provider's issuer URL (e.g., https://auth.example.com)
 # The provider must support OpenID Connect Discovery (.well-known/openid-configuration)
-OIDC_CLIENT_ID=client_id_example
-OIDC_CLIENT_SECRET=client_secret_example
-OIDC_ISSUER=https://authentik.yourdomain.com/application/o/dawarich/
-OIDC_REDIRECT_URI=https://your-dawarich-url.com/users/auth/openid_connect/callback
+OIDC_CLIENT_ID=<your client ID>
+OIDC_CLIENT_SECRET=<your client secret>
+OIDC_ISSUER=https://<your pocket ID domain>
+OIDC_REDIRECT_URI=https://<your dawarich domain>/users/auth/openid_connect/callback

 # OIDC Provider Name
 # Custom display name for your OIDC provider shown on the sign-in page
 # Default: "Openid Connect" (if not specified)
 # Examples: "Authelia", "Authentik", "Keycloak", "Company SSO"
-OIDC_PROVIDER_NAME=Authentik
+OIDC_PROVIDER_NAME=Pocket ID

 # OIDC Auto-Registration
 # Controls whether new users are automatically created when signing in with OIDC
 # Set to 'false' to require administrators to pre-create user accounts
 # When disabled, OIDC users must have an existing account (matching email) to sign in
 # Default: true (automatically create new users)
-OIDC_AUTO_REGISTER=true
+OIDC_AUTO_REGISTER=false
We set the OIDC details as per our setup and also disable auto registration since this will not be a public instance.
We now need to pass these into the dawarich_app container as environment variables:
In docker-compose.yml, find the dawarich_app entry and modify it like below:
--- a/docker-compose.yml.orig
+++ b/docker-compose.yml
@@ -78,6 +78,12 @@ services:
       RAILS_LOG_TO_STDOUT: ${RAILS_LOG_TO_STDOUT:-true}
       SELF_HOSTED: ${SELF_HOSTED:-true}
       STORE_GEODATA: ${STORE_GEODATA:-true}
+      OIDC_CLIENT_ID: ${OIDC_CLIENT_ID}
+      OIDC_CLIENT_SECRET: ${OIDC_CLIENT_SECRET}
+      OIDC_ISSUER: ${OIDC_ISSUER}
+      OIDC_REDIRECT_URI: ${OIDC_REDIRECT_URI}
+      OIDC_PROVIDER_NAME: ${OIDC_PROVIDER_NAME}
+      OIDC_AUTO_REGISTER: ${OIDC_AUTO_REGISTER}
     logging:
Okay, only one more thing remains!
Reverse Proxy Setup
We need to tell Dawarich about the domains it will be served at. We configured that the previous section:
@@ -43,13 +43,13 @@ DAWARICH_APP_PORT=3000
 # Application hosts (comma-separated)
 # Development: localhost
 # Production: your-domain.com,www.your-domain.com
-APPLICATION_HOSTS=localhost,::1,127.0.0.1
+APPLICATION_HOSTS=dawarich.sh.pawan.link
Let’s configure Caddy to point that domain to Dawarich. We can adapt the official example . Editing our Caddyfile:
@dawarich host dawarich.sh.pawan.link
handle @dawarich {
        reverse_proxy 127.0.0.1:3000

        encode
}
The official example wants to enable brotli compression, but that is not a caddy builtin so we will forego that for now. Gzip compression is available out of the box and should be quite good regardless.
sudo systemctl restart caddy
Okay, we are ready to start everything up.
We should have a directory like:
pawan@playground:~/s/dawarich$ tree -a
.
|-- .env
`-- docker-compose.yml
In there, let’s start up the containers:
docker compose up -d
This will take a bit to pull in all the images and start the containers. It will take a couple of minutes since there are many services to start up. Eventually it should become healthy.
Setup Dawarich
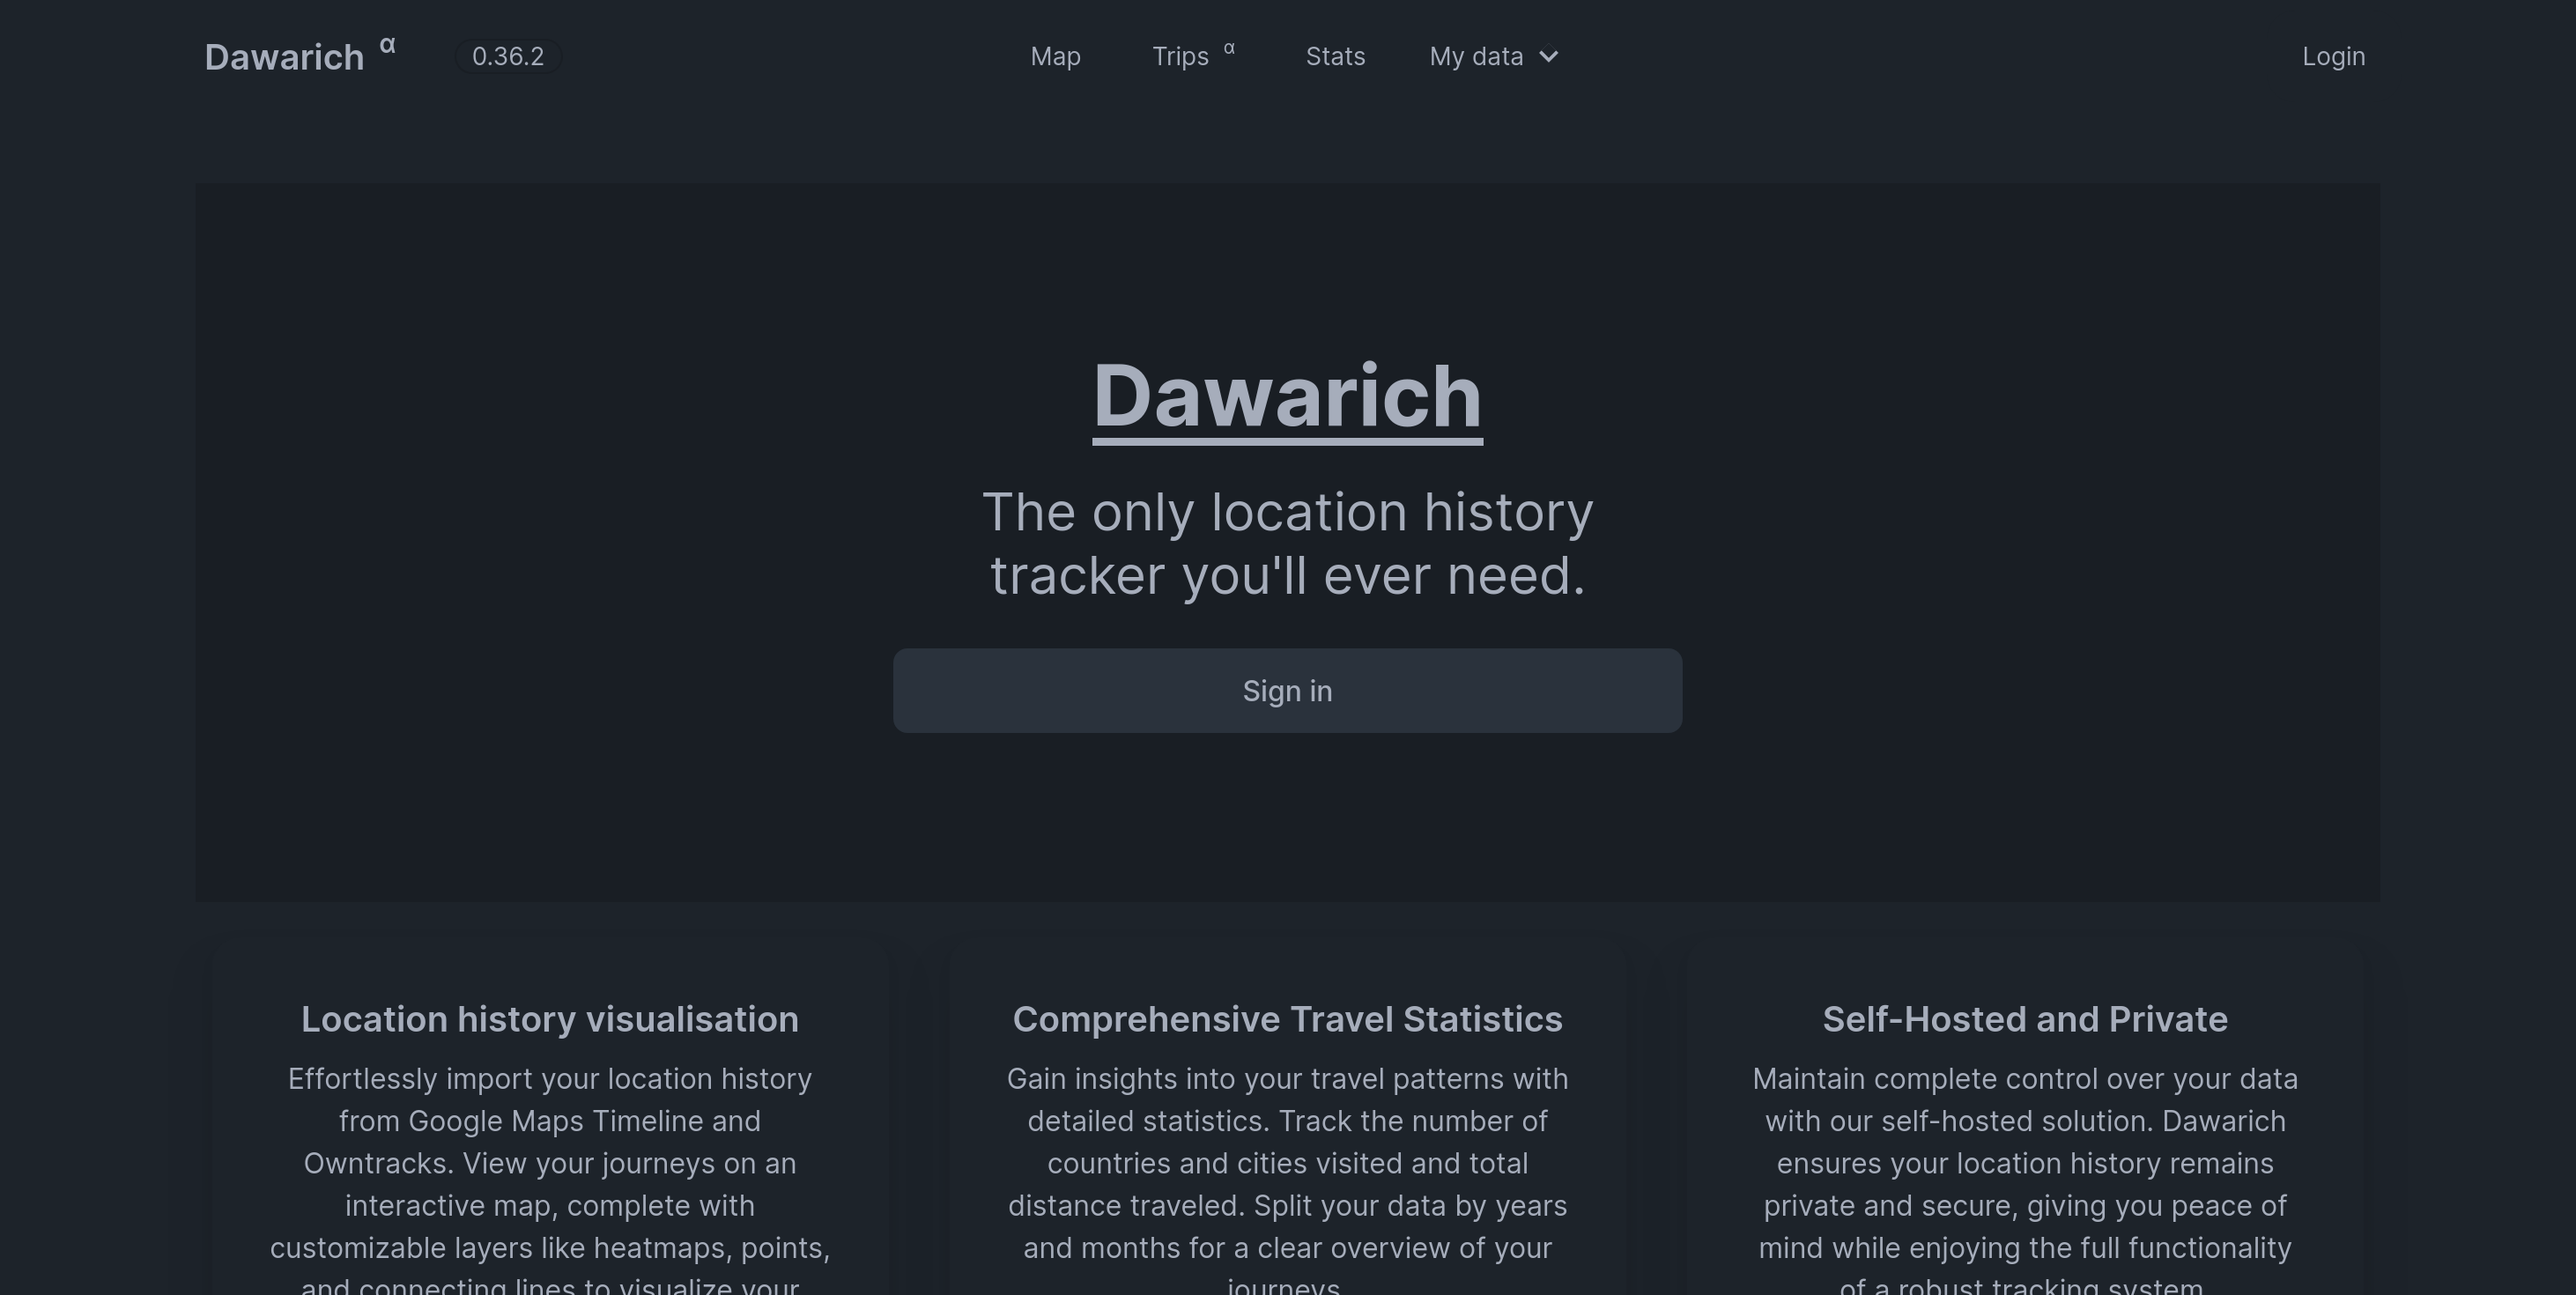
Let’s navigate to the domain we configured in caddy! You are greeted with a plain-looking page.
Click on the Sign In button to navigate to the sign-in page. There, select Sign In with Pocket ID
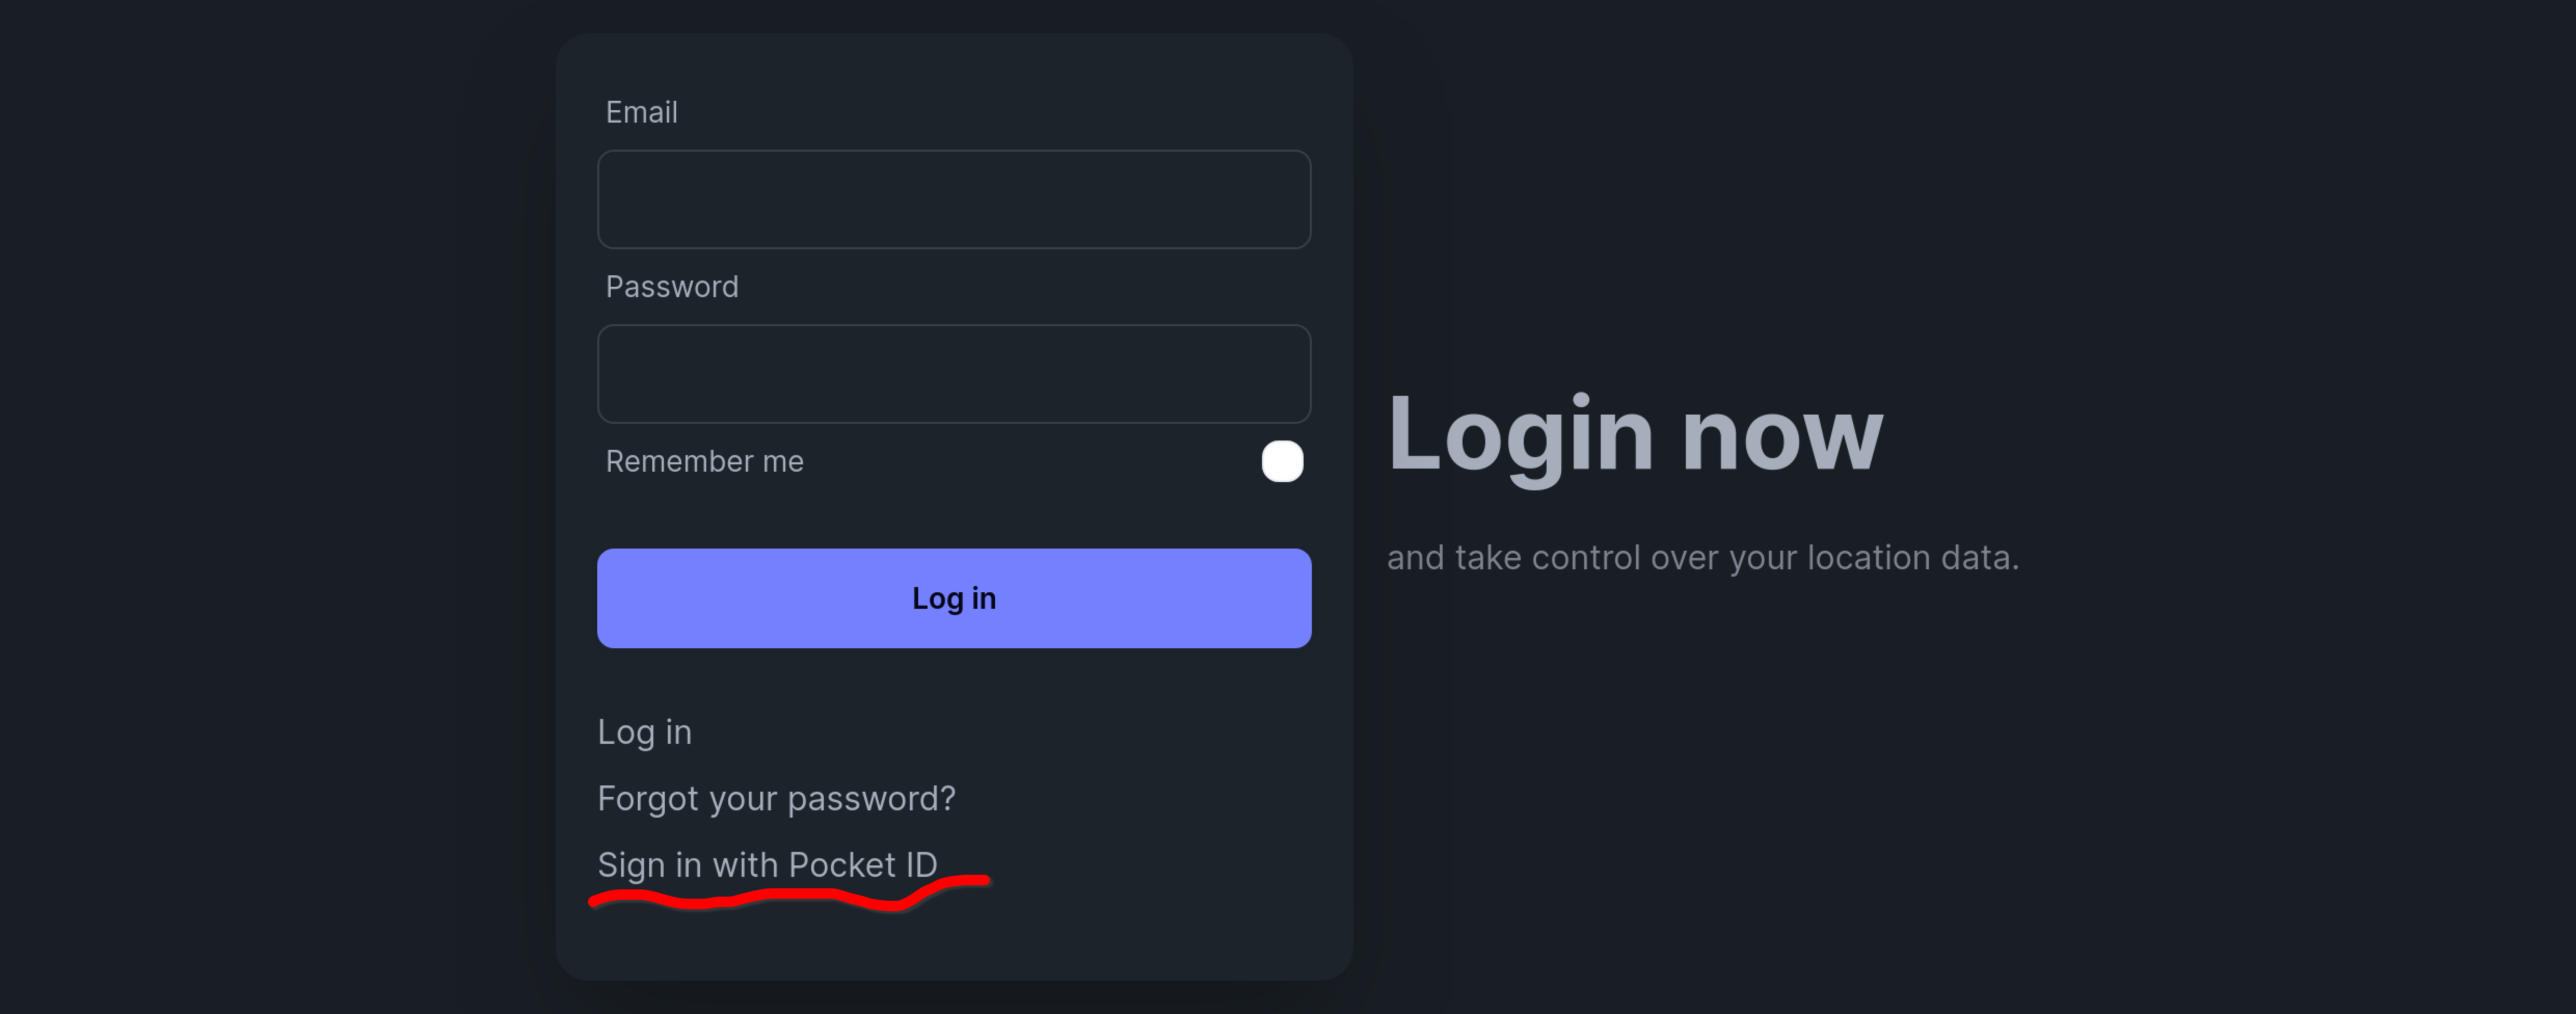
You should be redirected to your Pocket ID install for the authentication flow, and redirected back to Dawarich on success.
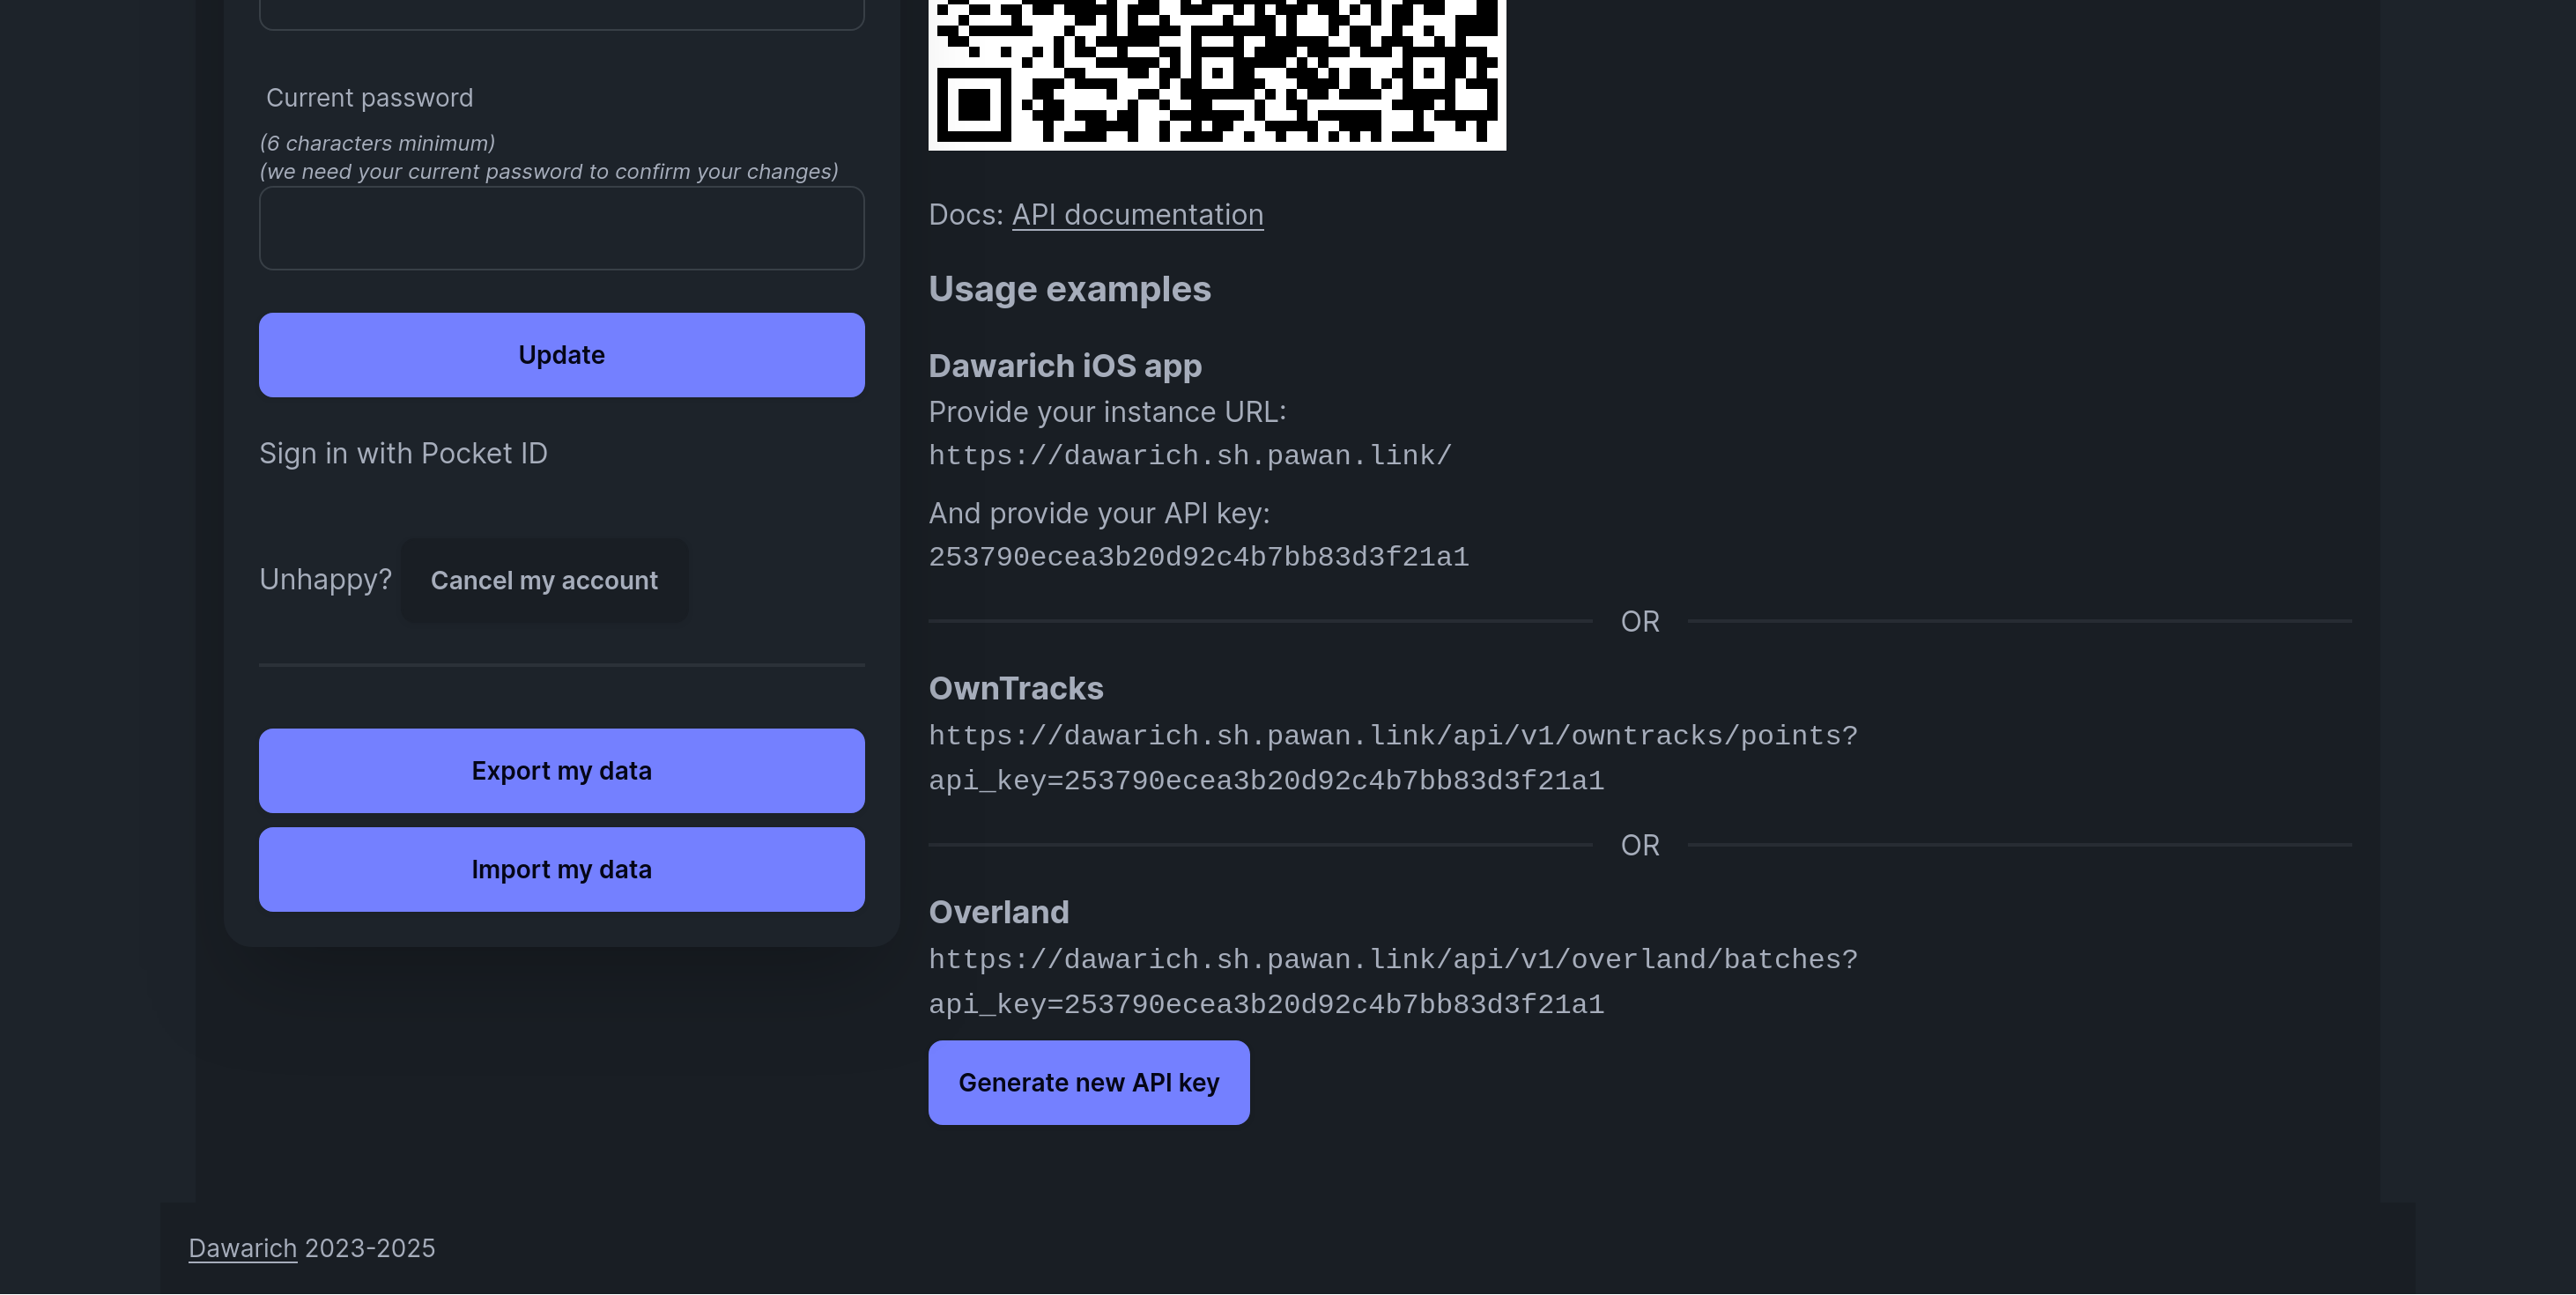
Dawarich will prompt you to set up tracking clients: there is an official iOS App, and some third-party Android ones. There are plans to have a first-party Android app too . If you are on Android, the developer recommends using Owntracks.

If you are using a third-party app, the QR code will not work, but there are instructions for supported ones using the manual setup flow.
For Owntracks on Android, I had to go to the Account Settings page for the endpoint URL to follow the instructions.
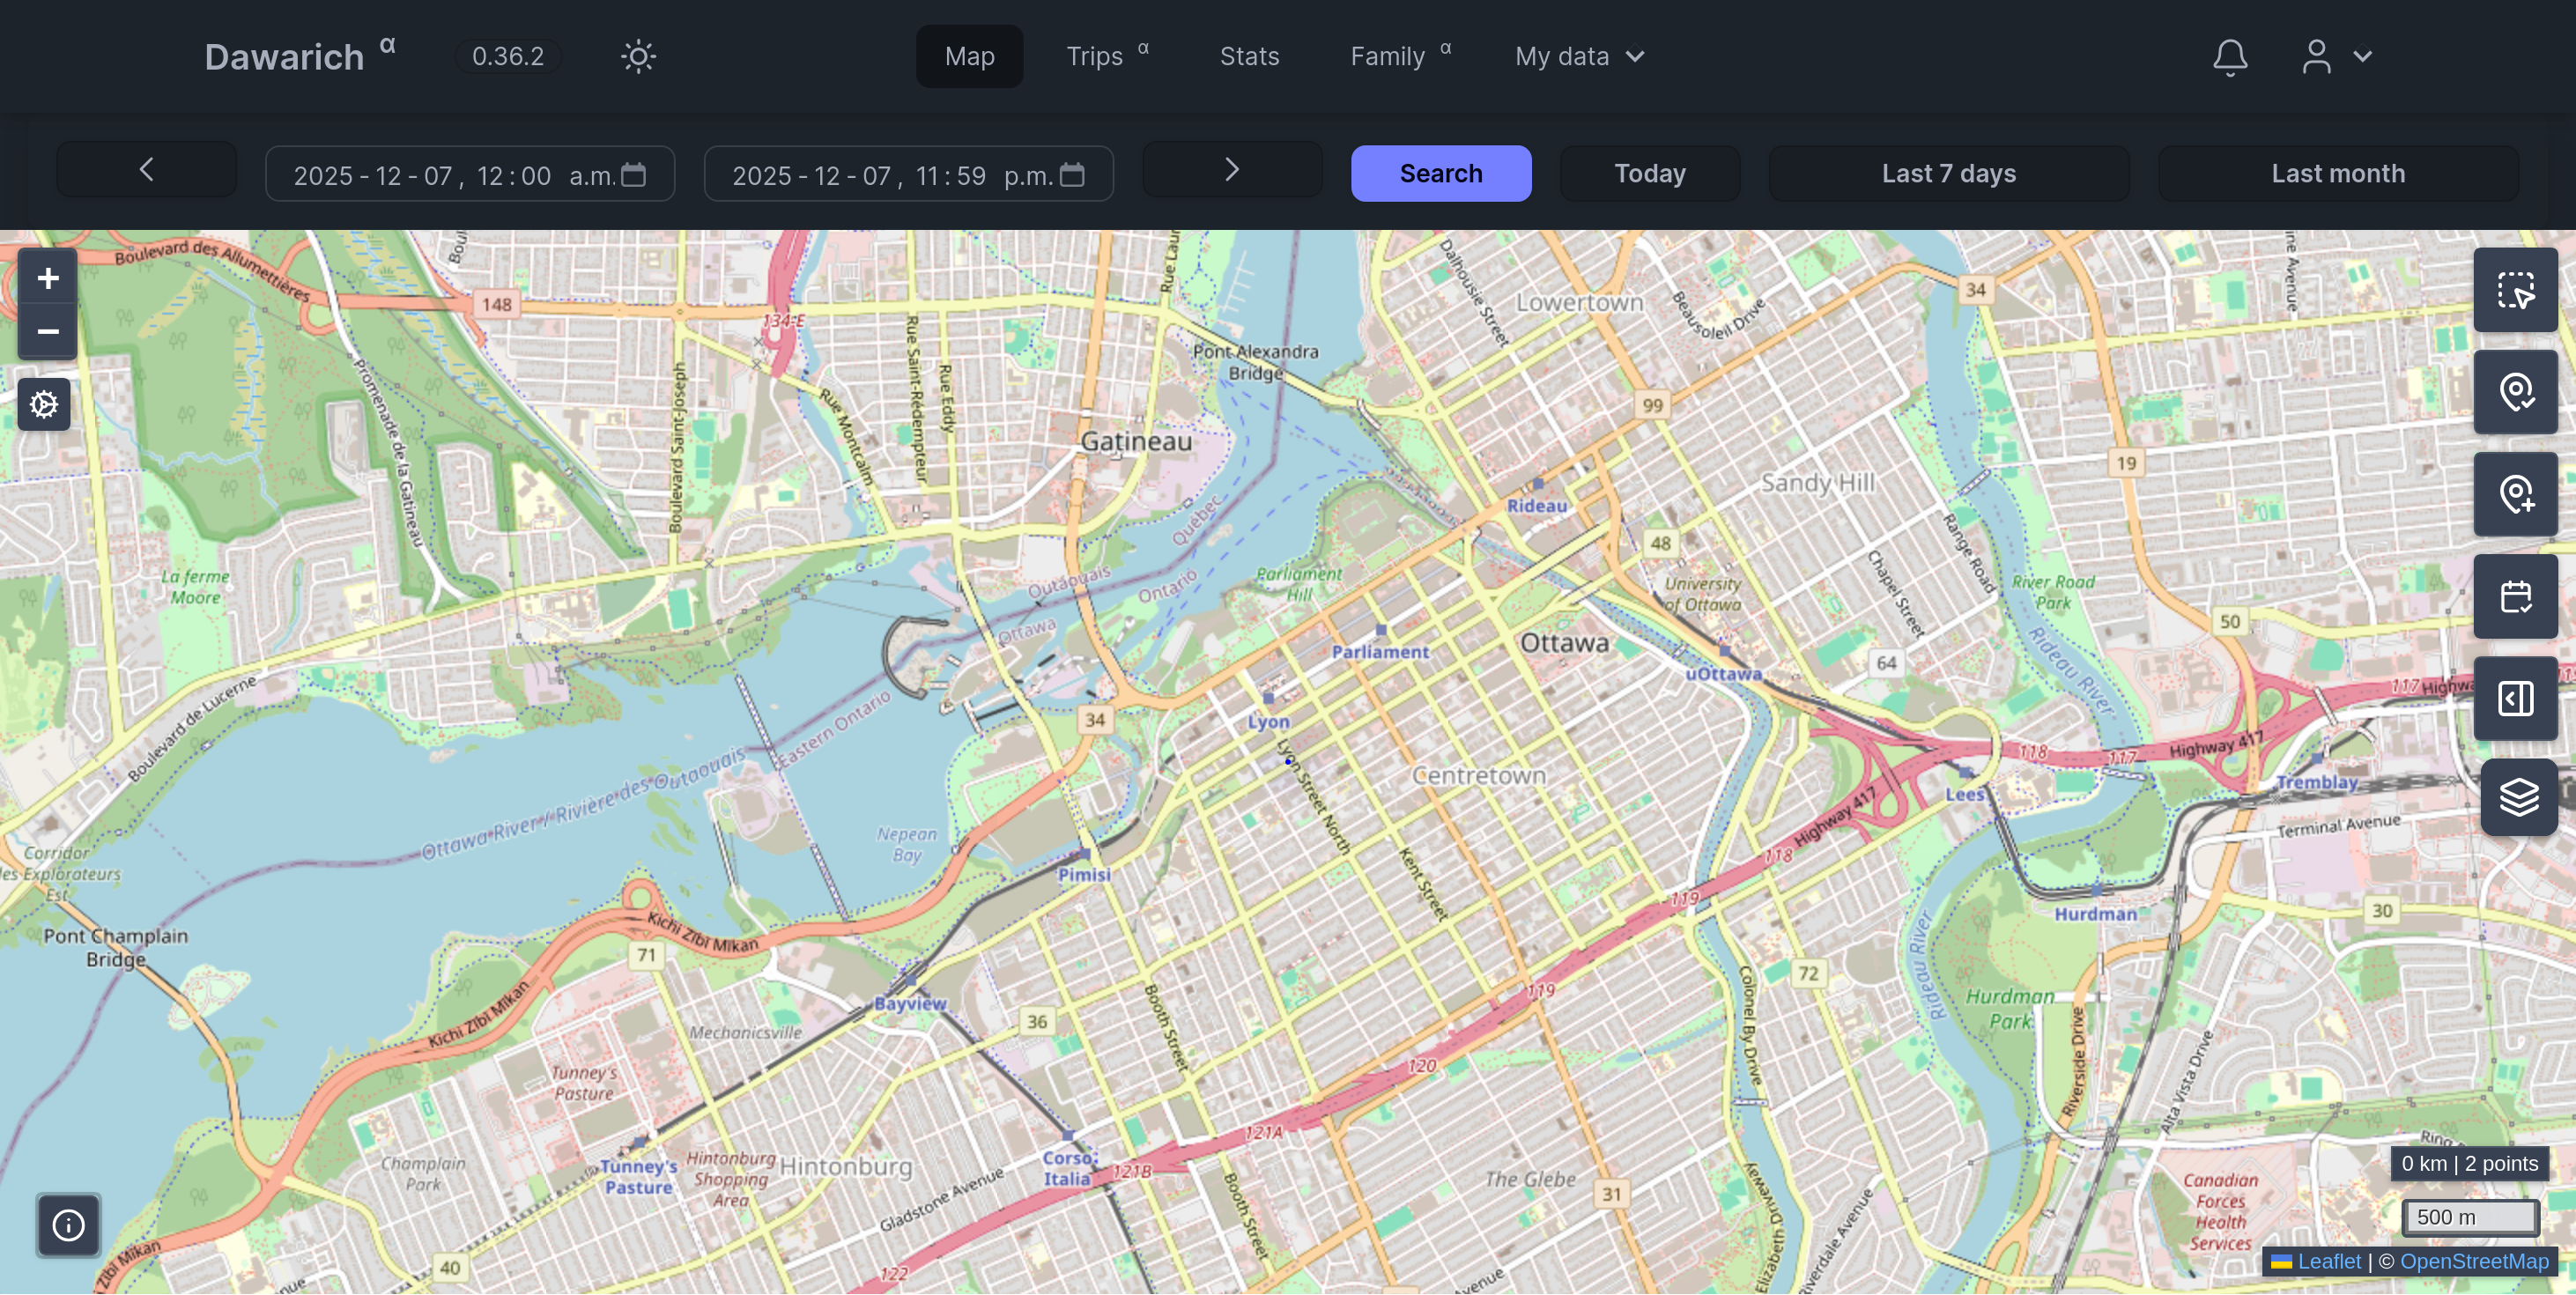
Once the app can start sending data, you can see your location on the website as well. Here I am in Ottawa correctly.
From here the world is your oyster - literally in this case. One key feature is that you can create “Trips” from past data and have Dawarich create a look back at your journey from those dates.
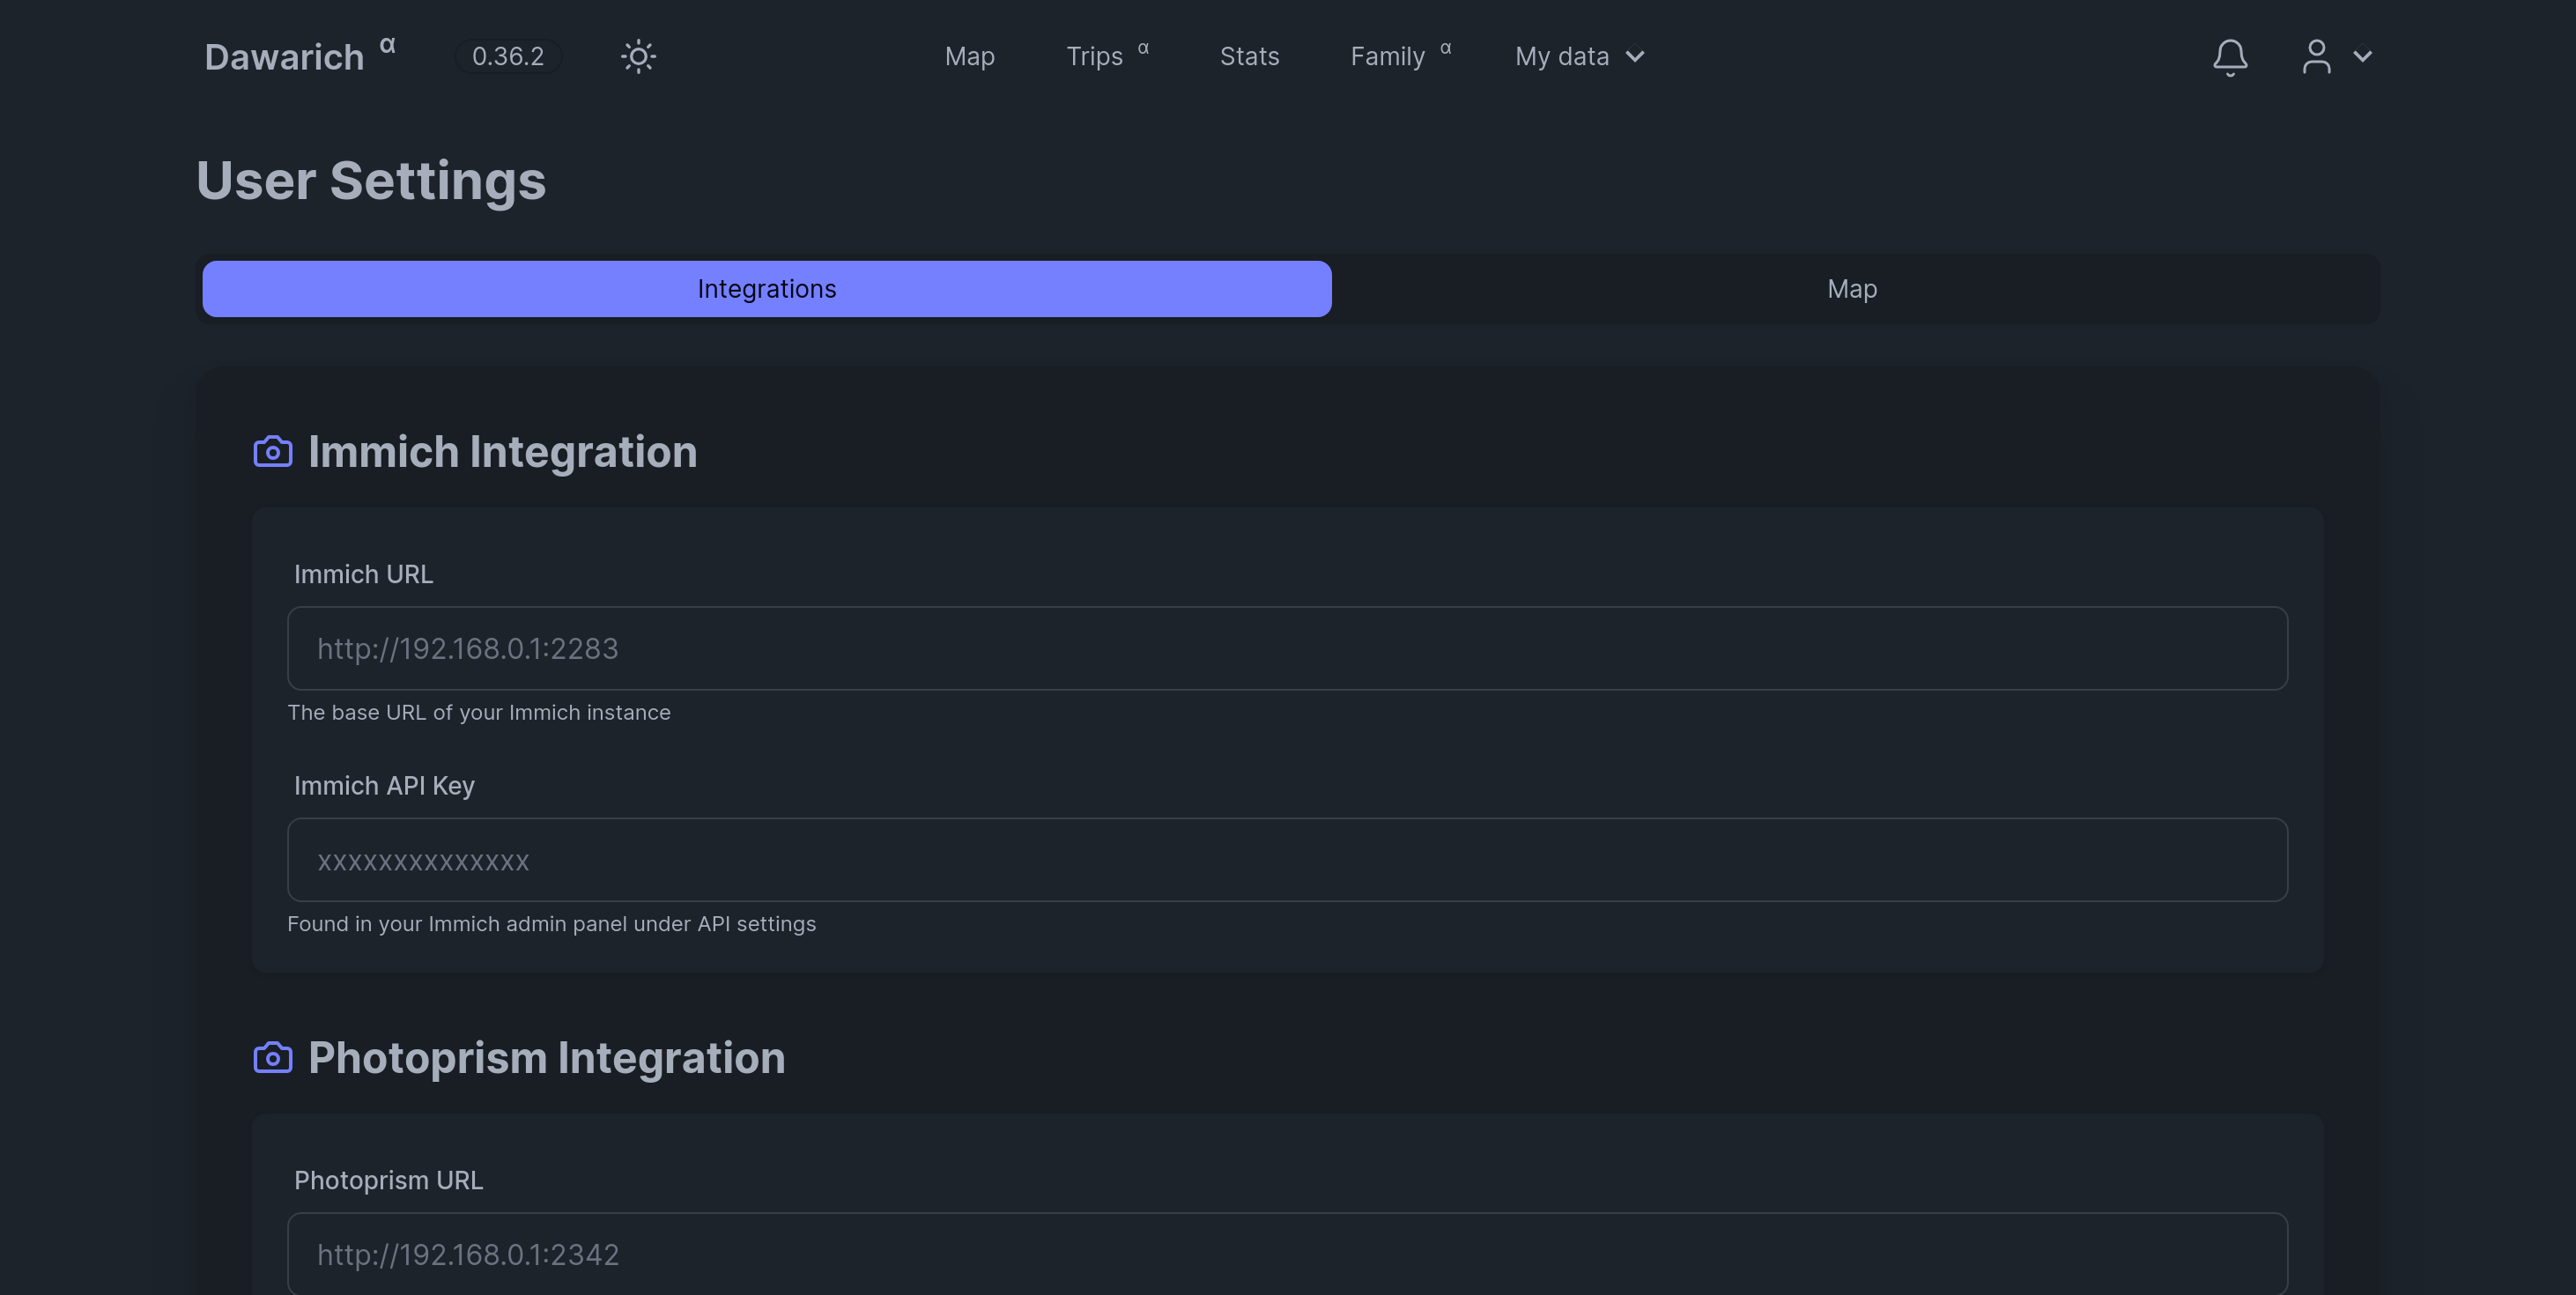
It can also connect to Immich to fetch photos for a given location and time using EXIF data and display it on the map if available. Nifty!
You can also invite your family to the app, and it even comes with a Swagger API documentation in case you want to connect to it using some other system.
Conclusion
So there you have it. We are free from the clutches of Big Brother Google, at least partially. I think it’s a rather impressive piece of software and hopefully first party Android clients are on the horizon too.
Thanks for reading this far, and follow along for future posts in #Self-hostember . You can now follow us on Mastodon to keep up to date with us as well!