Self-Hostember #3: Copyparty! 🎉
Table of Contents
ℹ️ This post is part of a series , and it assumes that you’ve followed the instructions from Day Zero first.
Introduction
Day 3, let’s try out Copyparty ! It describes itself as a “portable file server” but implements (almost!) all protocols under the sun, including WebDAV, FTP, CIFS etc, and includes a web UI for browsing files and managing the server itself.
One of its philosophies is:
inverse unix philosophy – do all the things, and do an okay job
Which sounds about right. For example, it includes two built-in text editors.
It was made by one person over 5 years so that they could run a file server on their phone.
Speaking of phones, the original author wrote a bunch of the code for this on their phone during their commute. I know of one person who designs 3D models in FreeCAD on their SteamDeck. I think they are cut from the same cloth 🤪 (in a good way)
It’s a single Python file and can be run anywhere Python 2/3 is available. Including the Nintendo DS⁉
The author has a video showcasing the features of the project in about 15 minutes. Certainly worth your time.
Before we proceed a word of warning:
⚠️ Copyparty is a file server. Exposing a file system over a web service is inherently risky as directory traversal exploits come free with the territory. Copyparty has seen some of these vulnerabilities already , but they have also been very quick to patch them. My recommendation is to use file servers of this ilk as a “scratch” location where you upload things ephemerally that you quickly need to share with friends, rather than as a persistent network drive.
Okay, with that out of the way, let’s proceed with the install.
Install Copyparty via Docker
Like with previous days, we’ll install it inside a docker container. Hopefully you are beginning to get used to the process by now!
We’ll use the docker-compose.yml file from the official GitHub but with some modifications.
First let’s prepare our workspace.
mkdir copyparty
cd copyparty
Inside our parent directory, we will need two more directories:
- config: This will host one or more config files to configure Copyparty itself.
- data: This will be the actual file location that Copyparty will have access to. It will be the “root” of the filesystem tree from its perspective. We will put our files here.
mkdir config data
We need to add a configuration file, but before we do that first let’s adapt the official docker-compose to our situation:
cat > docker-compose.yml <<EOF
---
services:
  copyparty:
    image: copyparty/ac:latest
    container_name: copyparty
    ports:
      - 127.0.0.1:3923:3923 # bind to localhost only
    volumes:
      - ./config:/cfg:z # config directory
      - ./data:/w:z # data directory
    environment:
      LD_PRELOAD: /usr/lib/libmimalloc-secure.so.2 # faster mallocs
    stop_grace_period: 15s  # thumbnailer is allowed to continue finishing up for 10s after the shutdown signal
    healthcheck:
      # hide it from logs with "/._" so it matches the default --lf-url filter
      test: ["CMD-SHELL", "wget --spider -q 127.0.0.1:3923/?reset=/._"]
      interval: 1m
      timeout: 2s
      retries: 5
      start_period: 15s
EOF
We are ready to start up the container:
docker compose up -d
This should pull the container and start it. To verify we can look at the container’s processes via docker container top:
pawan@playground:~/s/copyparty$ docker container top copyparty
UID                 PID                 PPID                C                   STIME               TTY                 TIME                CMD
root                65658               65633               0                   05:24               ?                   00:00:00            python3 -m copyparty -c /z/initcfg
We can see that the copyparty python program has been running for a few minutes. Success!
Let’s not forget to add a reverse-proxy entry for it to our Caddyfile:
copyparty.yourdomain.tld {
    reverse_proxy 127.0.0.1:3923
}
Hash Passwords
If you navigate to your URL currently, you’ll see a message like:
copyparty refused to start due to a failsafe: invalid server config; check server log
This is because we skipped creating the config before. We needed to do that because we want to first generate password hashes for our user accounts. We will create an admin, and a non_admin user with the following passwords (change them accordingly!):
admin: changeme
non_admin: changemetoo
We can use Copyparty with unhashed passwords but that’s not very secure. Instead, we’ll use their recommended argon2 hashing method.
According to the docs , it’s easier if we use Copyparty running in the same environment to generate the hashes. This is why we started the docker container before creating the config. Now we can use the running container to our advantage. Let’s exec into our container and generate the hashes.
docker exec -it copyparty sh
This will open a shell inside the running container. Here we have access to the copyparty code. Let’s generate the hashed passwords with it.
python3 -m copyparty --ah-cli --ah-alg argon2

<some output snipped>

password> # I entered admin:changeme here
again or just hit ENTER> # and again
+5teuJrBPMtSM60zvMD6zerYwDRyfAnj6

password> # I entered non_admin:changemetoo here
again or just hit ENTER> # and again
+1qp1xnGwd_T1MEDdav-uP26wEOtgbHCV
Copyparty has helpfully printed out the hashed passwords for us, which we can use in the config.
ℹ️ Note: your hashed passwords may be different because of a different salt being used
Create Configuration File
Okay, let’s create the configuration file now for Copyparty to read when it boots up. We will use the default config that comes with docker-compose.yml on their github and modify it a bit:
cat > config/copyparty.conf <<EOF
[global]
  e2dsa  # enable file indexing and filesystem scanning
  e2ts   # enable multimedia indexing
  ansi   # enable colors in log messages (both in logfiles and stdout)

  ver                  # show copyparty version in the controlpanel
  name: selfhostember  # change the server-name that's displayed in the browser
  df: 2                # stop accepting uploads if less than 2 GB free disk space
  theme: 2             # monokai
  ah-alg: argon2       # enable password hashing. makes SMB not work, but you can use NFS

[accounts]   # We use the hashed passwords here
  admin: +5teuJrBPMtSM60zvMD6zerYwDRyfAnj6
  non_admin: +1qp1xnGwd_T1MEDdav-uP26wEOtgbHCV

[groups]
  gadmin: admin   # admin group
  guser: non_admin   # non admin group

[/]            # create a volume at "/" (the webroot), which will
  /w           # share /w (the docker data volume)
  accs:
    rwmda: @gadmin  # the group gadmin gets read-write-move-delete-admin
    rw: @guser      # normal users don't have admin access
EOF
The things we are modifying include enabling password hashing with argon2, changing the theme, and doing access-management via groups instead of via users directly for flexibility.
⚠️Gotcha with the config: Comments can be on the same line as actual configuration as long as the # symbol is preceded by at least two spaces. Otherwise the comment becomes part of the config value.
After all the files are in place, our directory should have this structure:
pawan@playground:~/s/copyparty$ tree
.
|-- config
|   `-- copyparty.conf
|-- data
`-- docker-compose.yml
Restart Container
Now that we have the configuration file in place, we need to restart our container to have it pick up the configuration.
docker compose restart
And we should be able to login to the interface.
Setup Copyparty
Now we should be able to hit the configured domain in our browser and start the setup!
Visiting the URL in your browser you should see this login page:
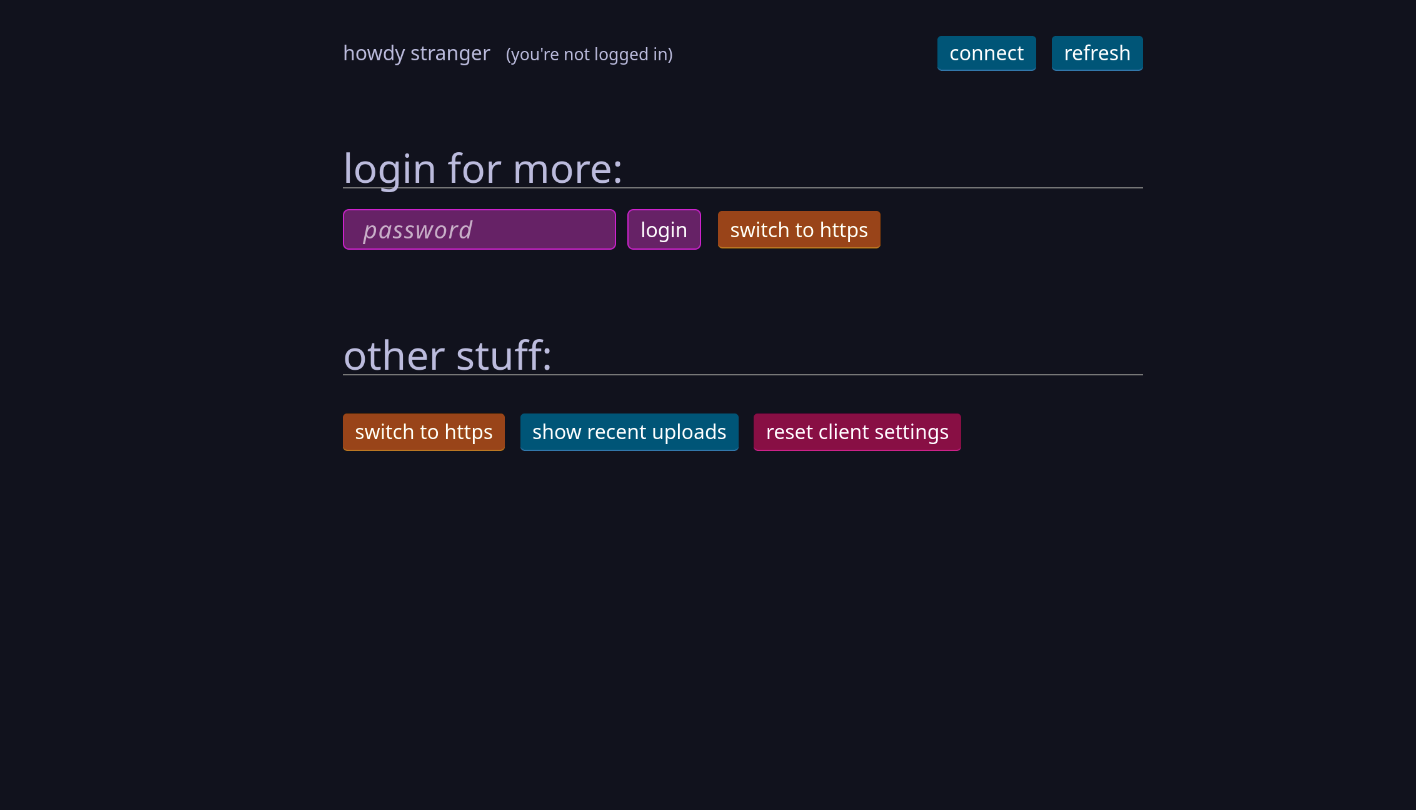
Here, we need to enter username:password into the password field. Weird, yes.
So we enter admin:changeme for the admin account, and non_admin:changemetoo for the other account.
After which we should be greeted with the home page:
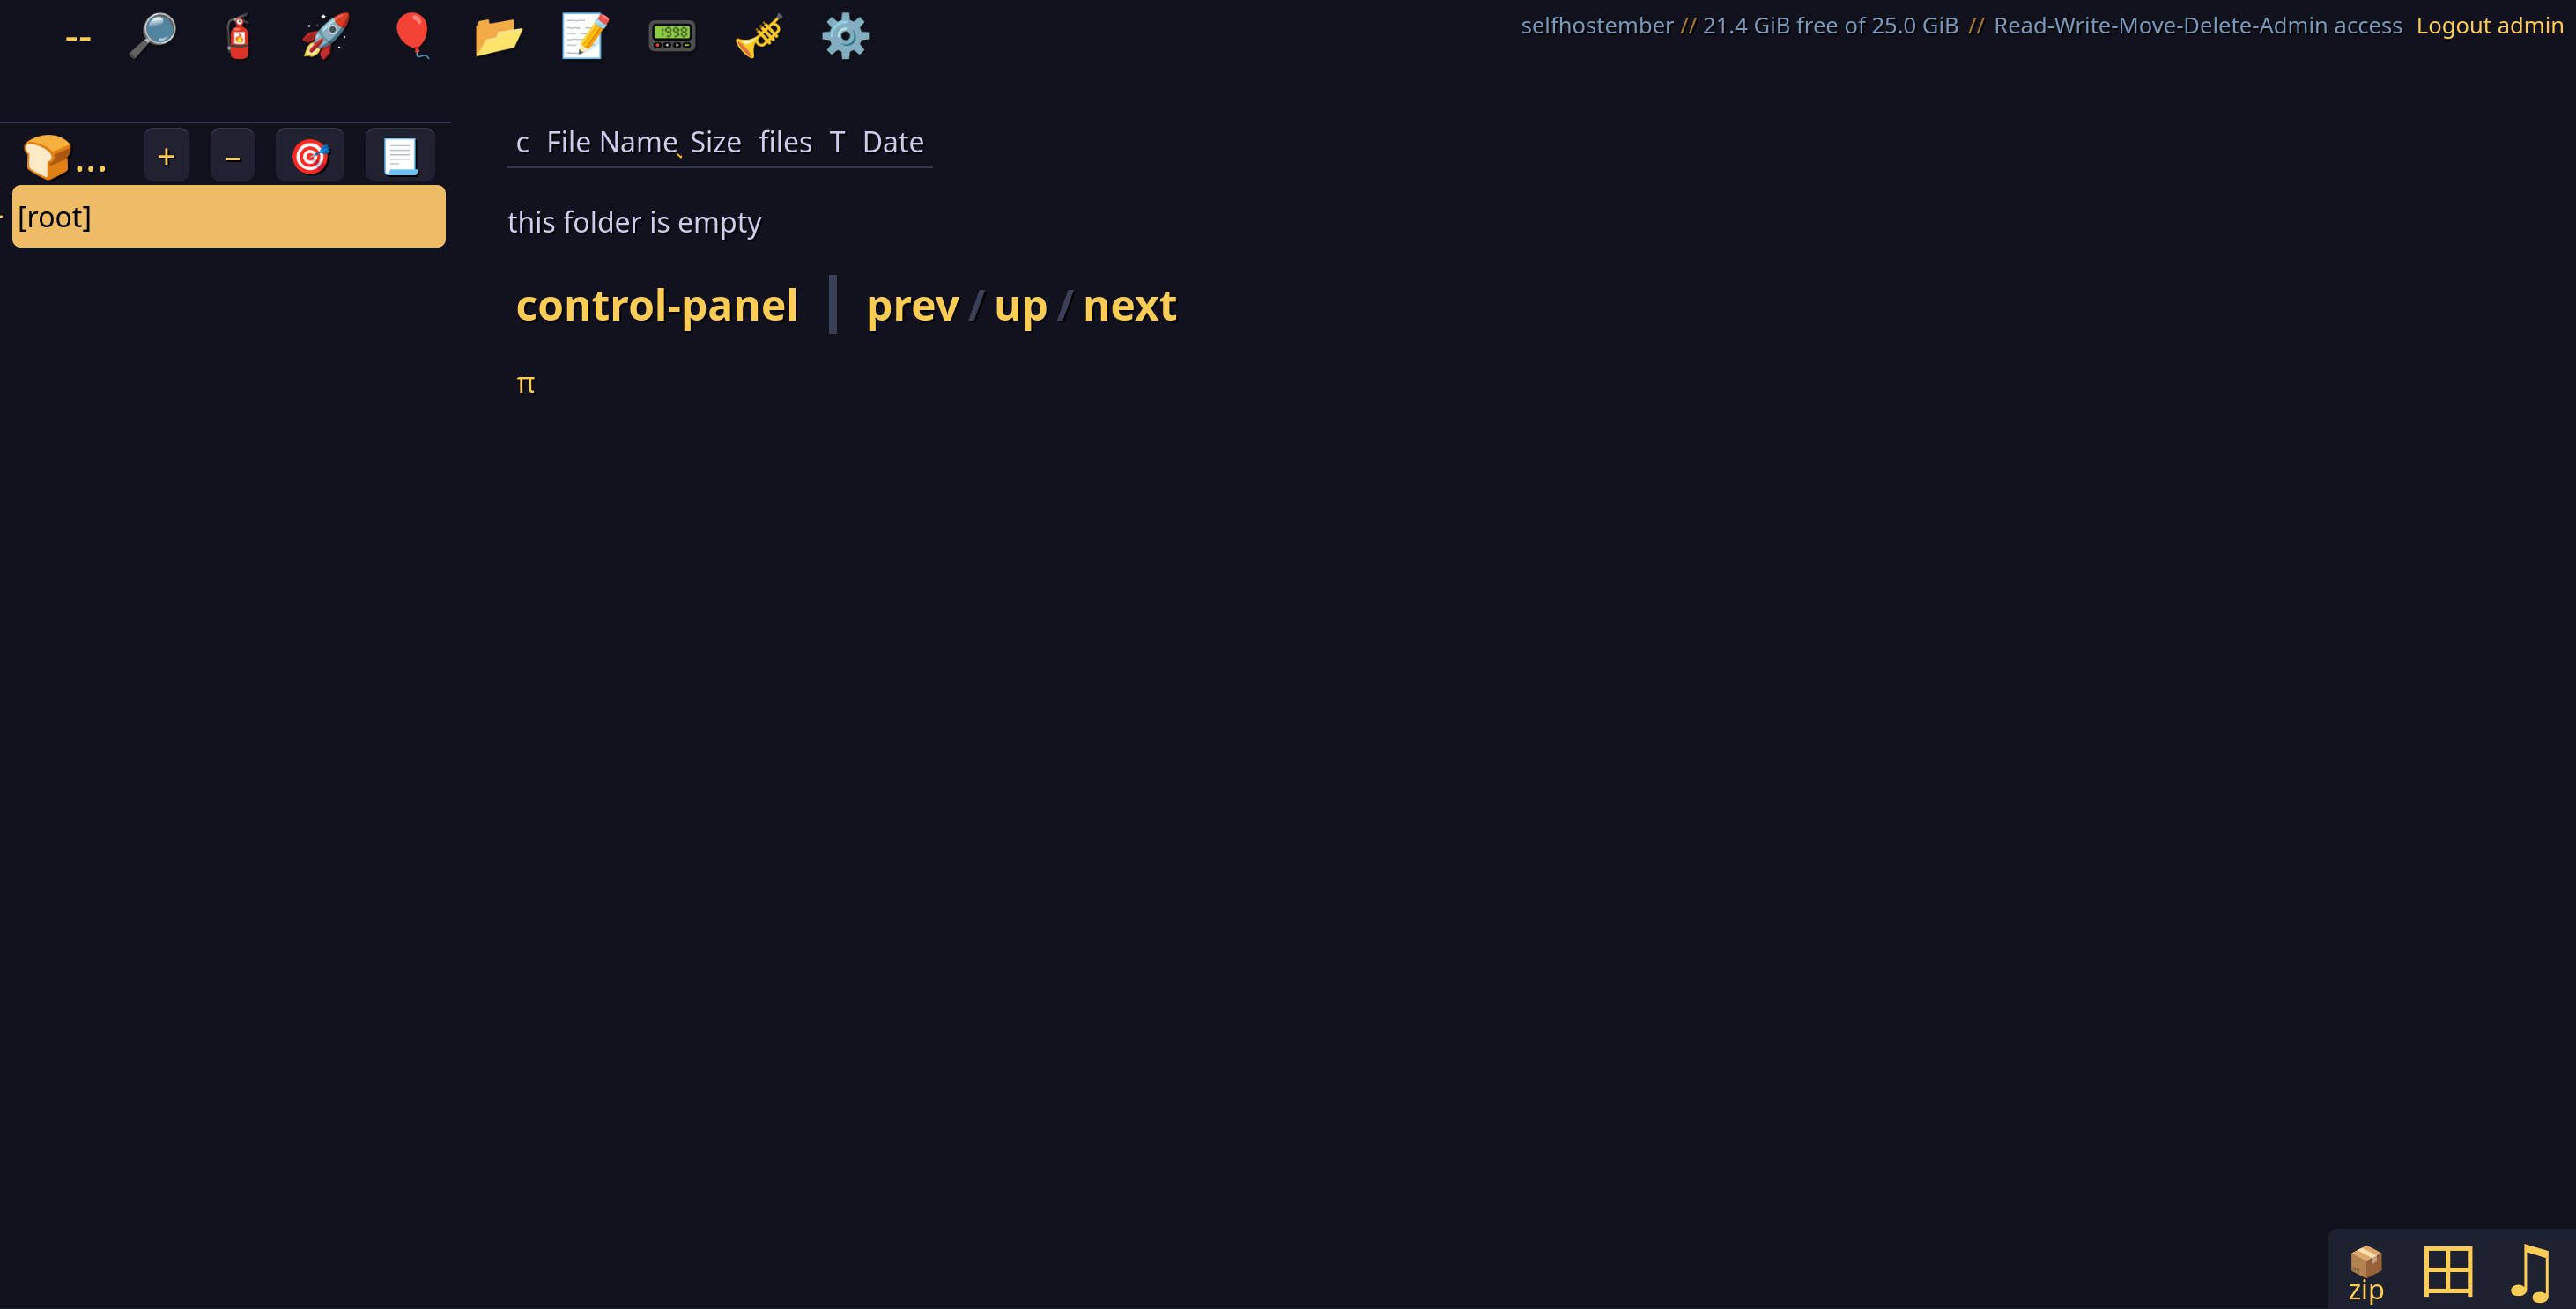
Hitting ? will bring up the keyboard shortcuts available.
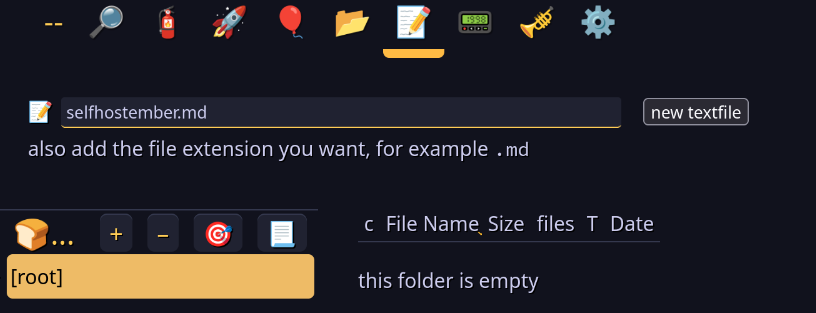
We can create a new file by clicking the 📝 icon at the top, or upload a new file by clicking the 🚀 icon. Name your file with an extension and hit enter to open the file editor!
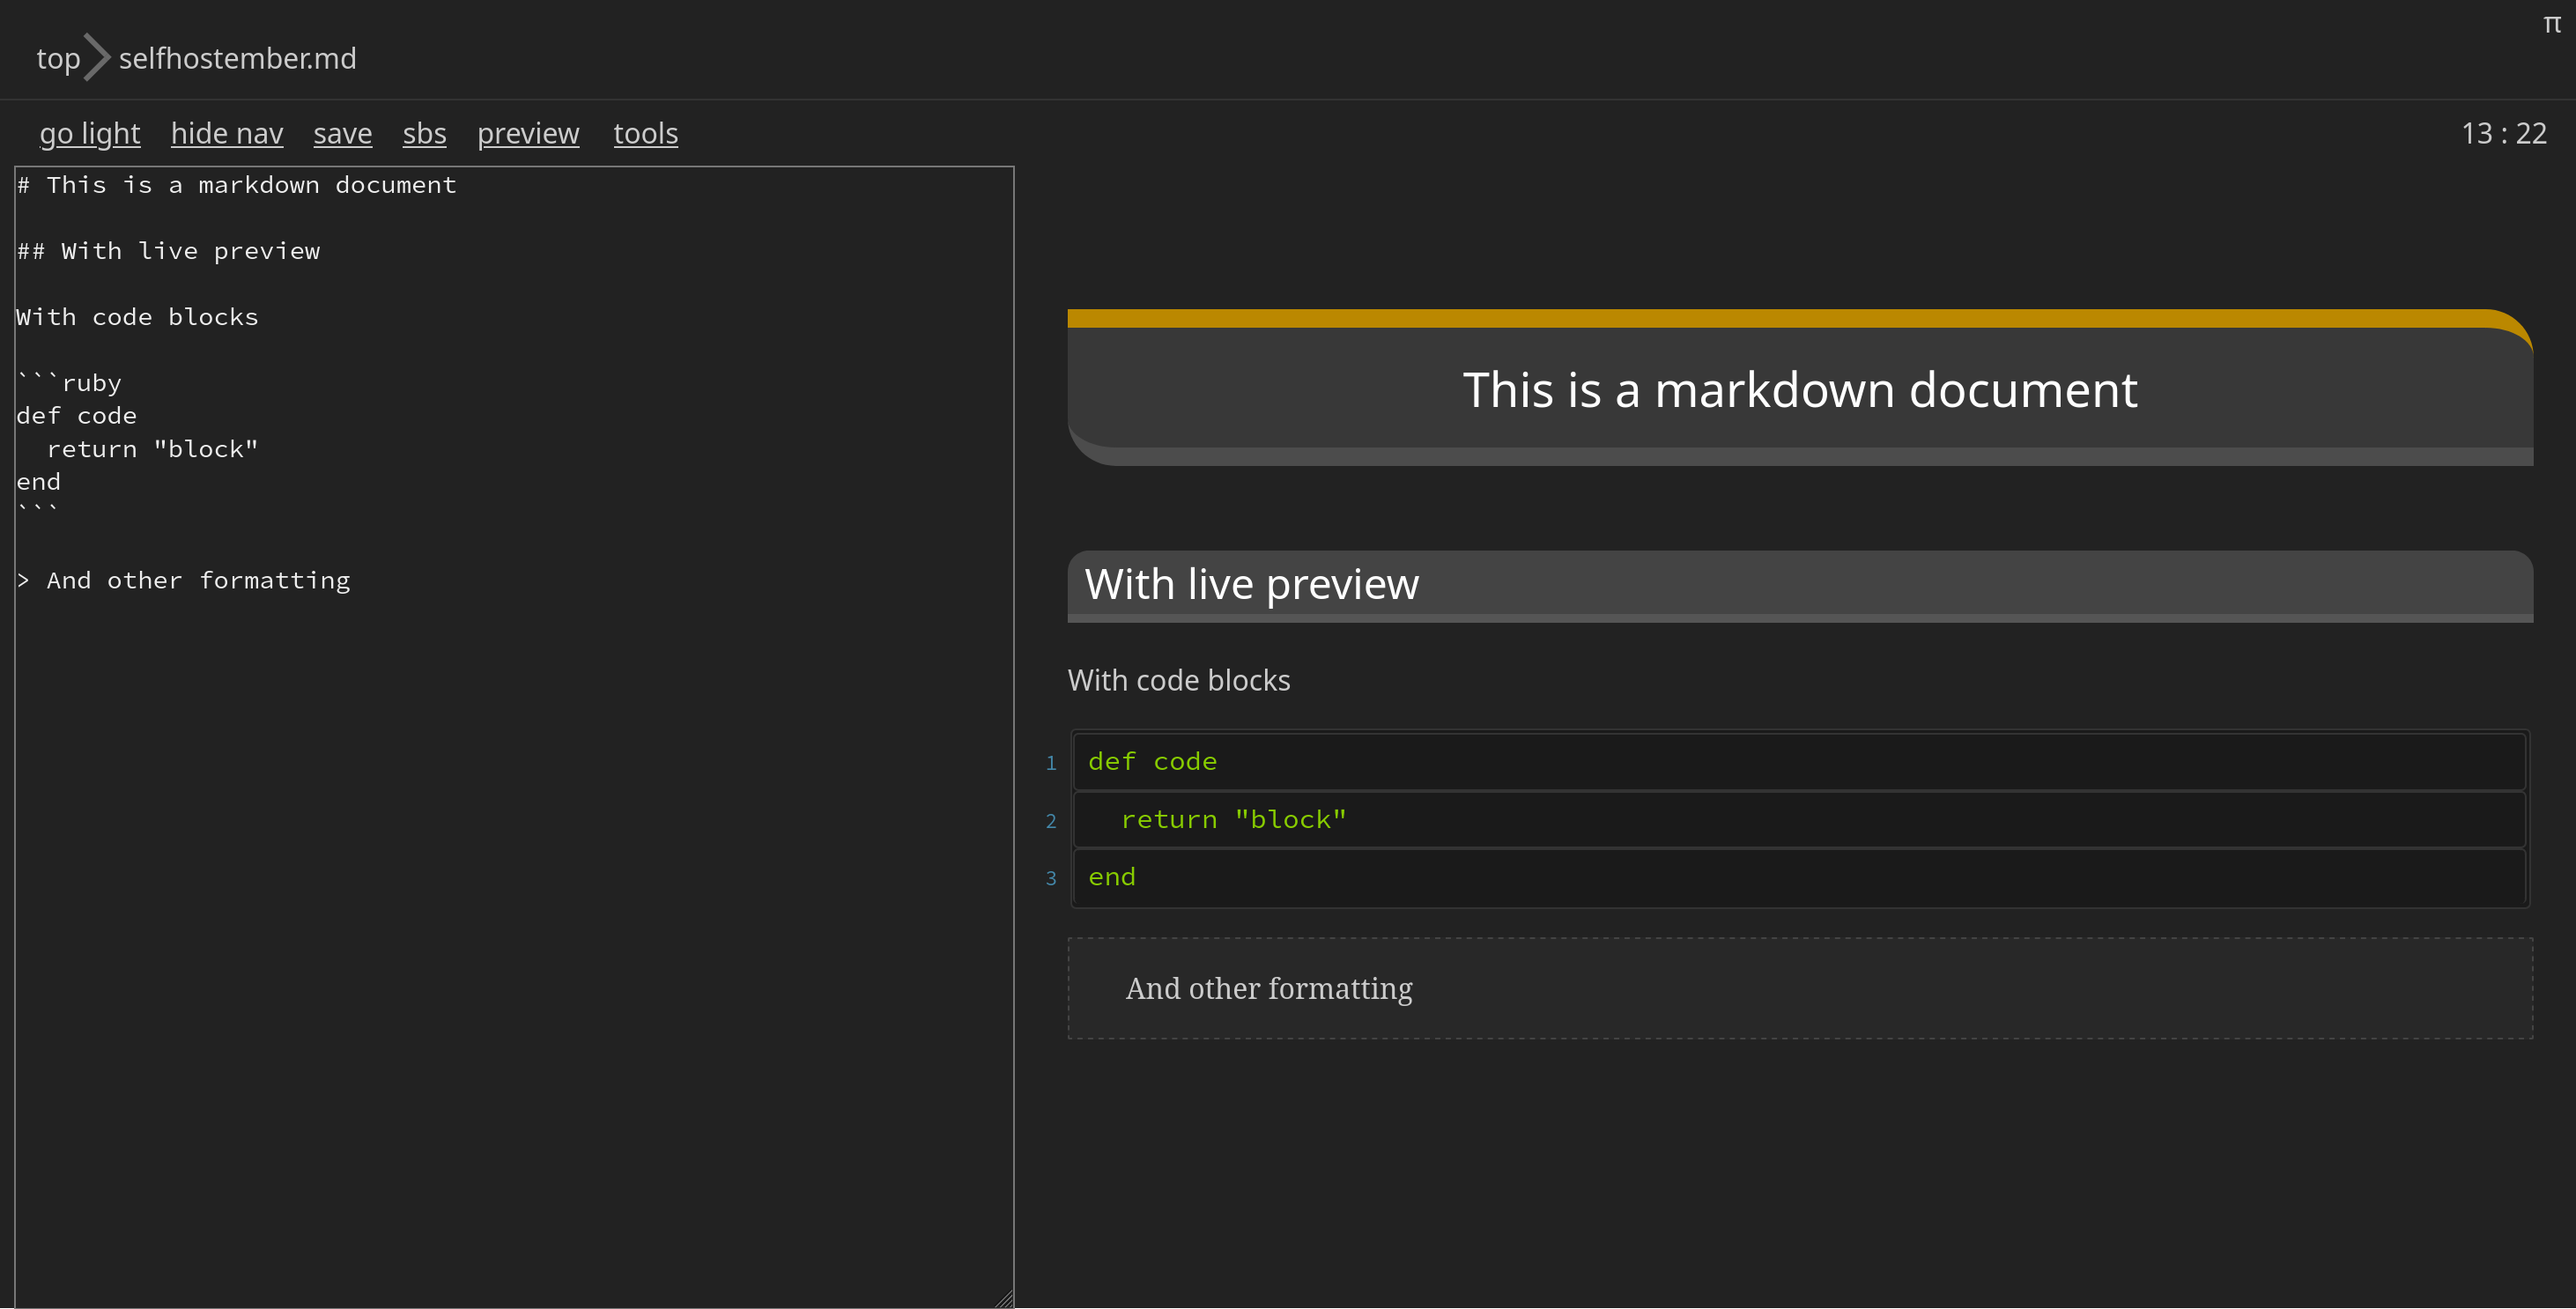
Ctrl+S saves the file, and other hotkeys allow you to toggle the live preview.
We can also upload files and the main view looks like this with Grid and Thumbnails enabled:
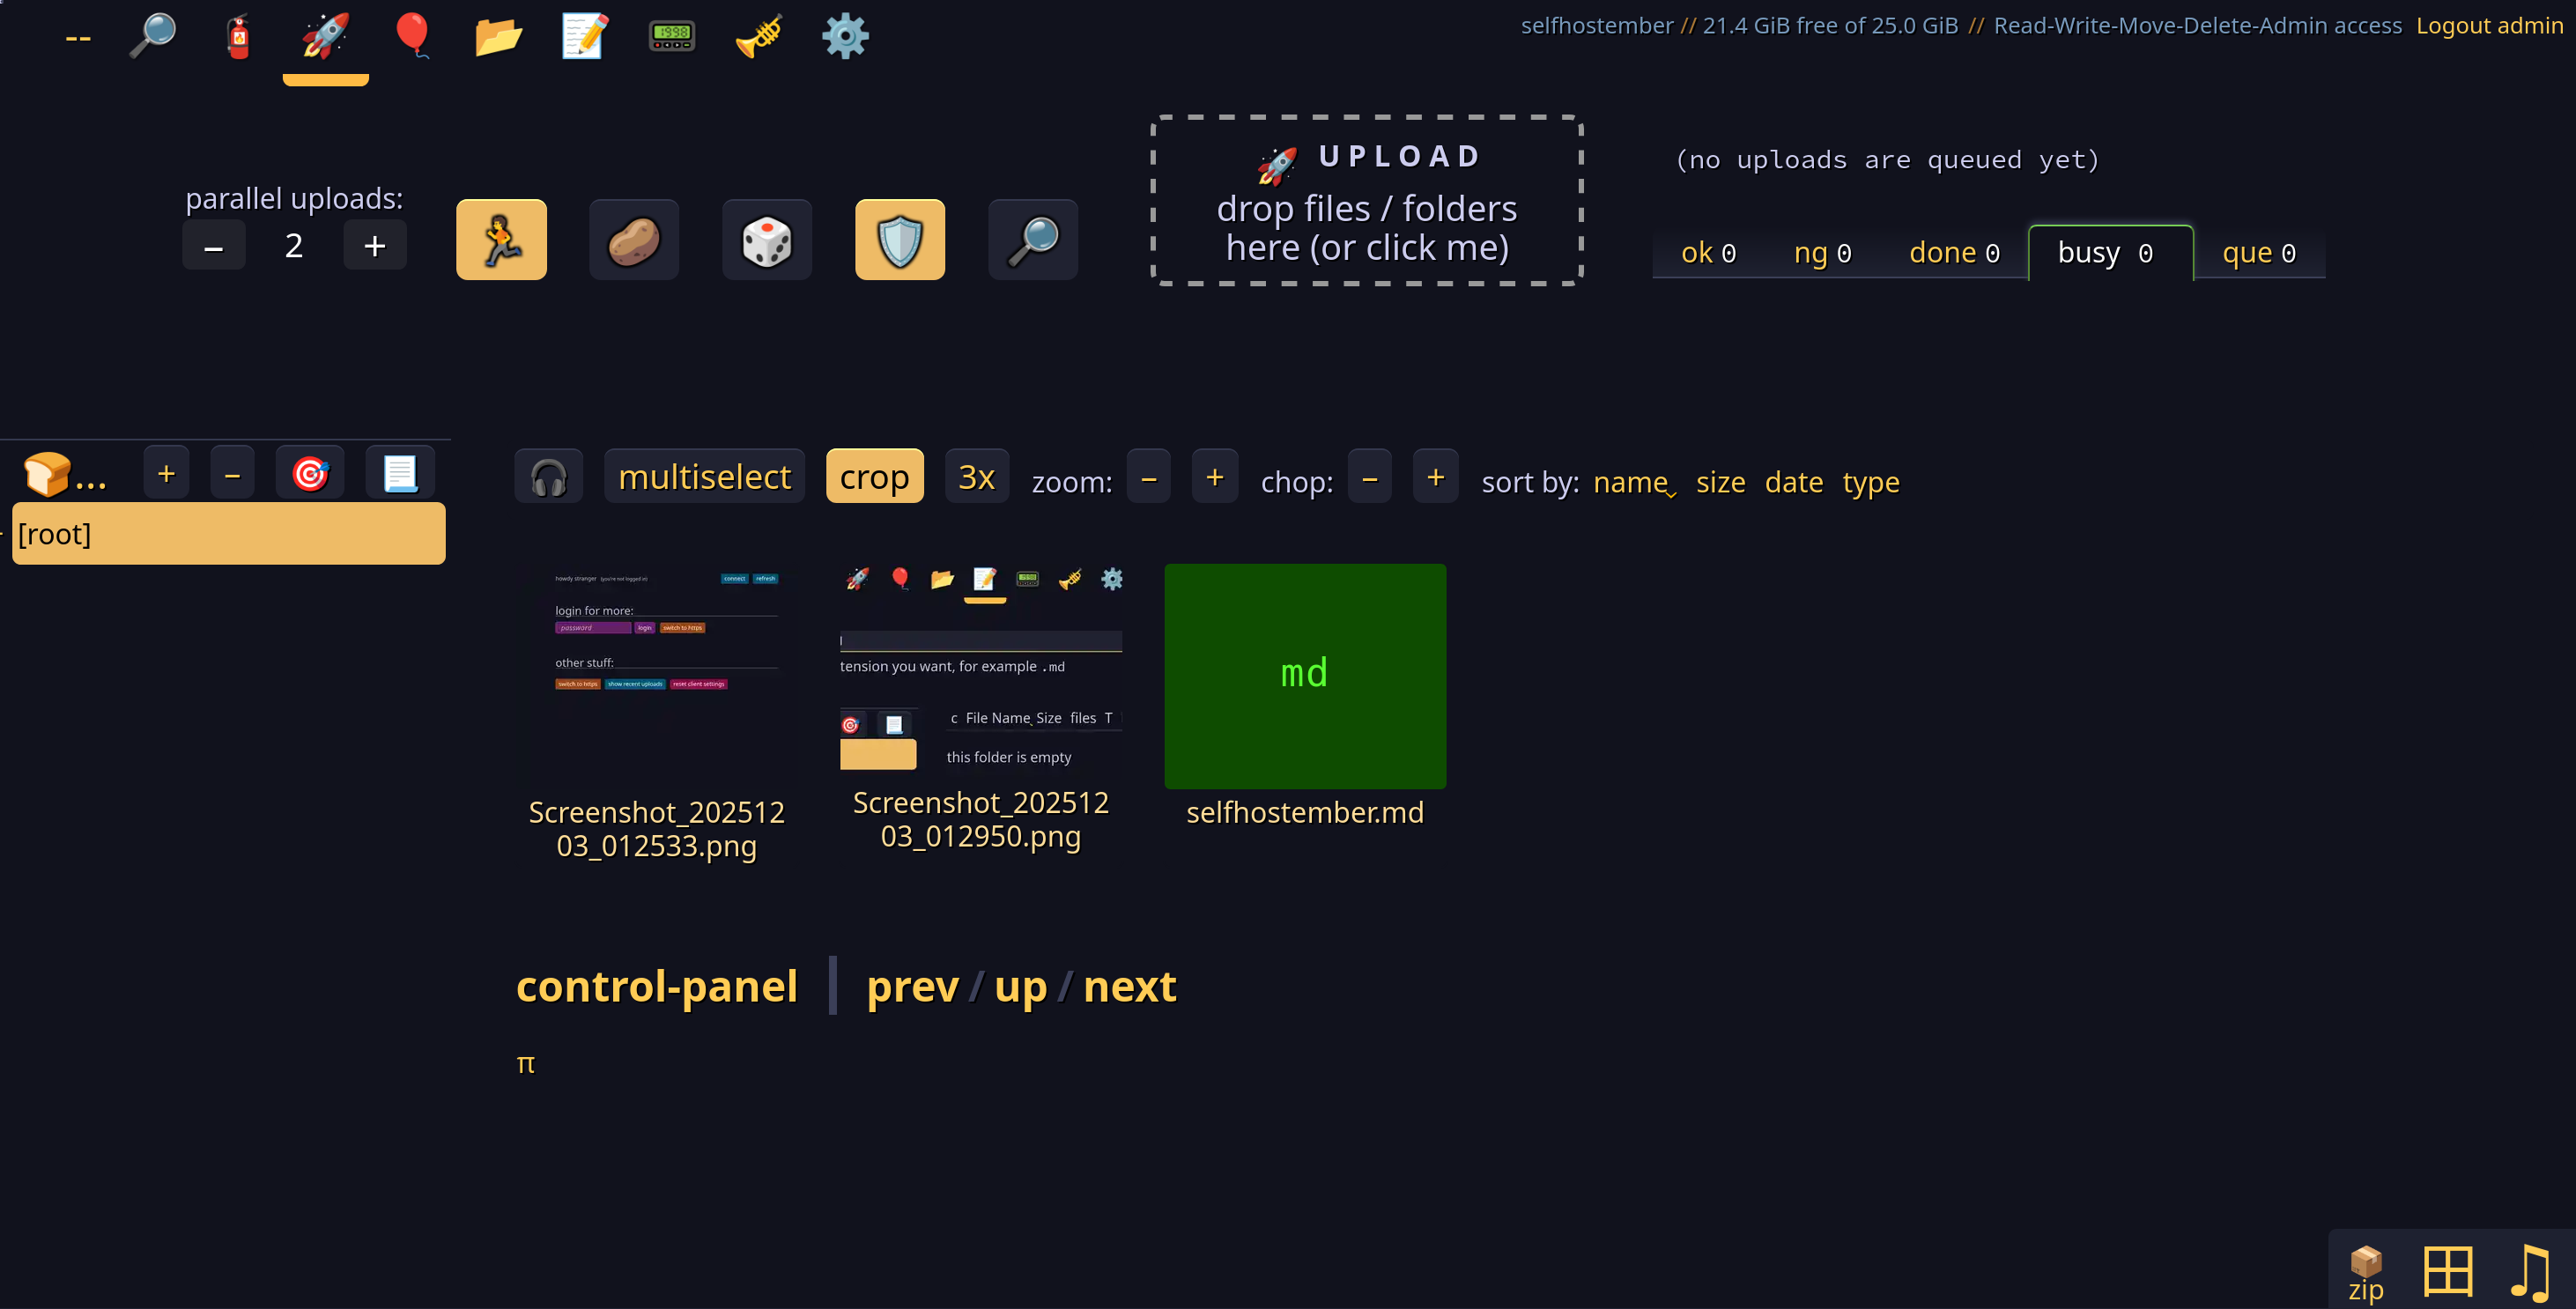
And we are done.
Conclusion
Now that you have it up and running, you can try accessing it through different devices or other protocols like NFS or SFTP and coming up with more uses for this quite quirky but mindboggingly comprehensive piece of software. This post doesn’t even scratch the surface of the features available with this software, so peruse the official docs at your leisure.
That’s it for this post. Hope you had some fun or learned something new.
Thanks for reading this far, and follow along for future posts in #Self-hostember . You can now follow us on Mastodon to keep up to date with us as well!