Self-Hostember #2: Jellyfin
Table of Contents
ℹ️ This post is part of a series , and it assumes that you’ve followed the instructions from Day Zero first.
Introduction
Today, let’s install Jellyfin for our music streaming needs!
Jellyfin self-describes itself as “The free software media system”. It allows you to stream all kinds of media from your own machines to any number of client devices, including your phone and TV. It has first-party apps on the respective app stores of the major players. Like Plex and other non-free systems, Jellyfin allows you to connect to a folder containing your media (movies, TV shows, music), automatically scans it for content, identifies it using various metadata and other signals, and presents it to you in a nice interface. Unlike Plex, it puts no restrictions on features available to you behind a paywall.
You can try out the web interface on their demo page: https://demo.jellyfin.org/stable . (Click on the big Jellyfin logo to proceed)
Install Jellyfin via Docker
Let’s install it using their docker image.
mkdir jellyfin
cd jellyfin
Then let’s prepare our directories where Jellyfin will actually store data.
Jellyfin has some recommendations about the directory structure for the type of media you are storing. Today, we will only test with music, so we will set up the directories as per the recommendations .
# root folder where all data will be stored, including config and cache
mkdir data
cd data
# config folder for Jellyfin configs
mkdir config
# cache folder for Jellyfin cache
mkdir cache
# finally folder to store all our media
mkdir media
The directory structure should look something like this:
`-- jellyfin
    `-- data
        |-- cache
        |-- config
        `-- media
Then we will create the docker-compose.yml file in the parent directory from the data directory we created above:
cd .. # should be in the jellyfin directory now
cat > docker-compose.yml <<EOF
services:
  jellyfin:
    image: jellyfin/jellyfin
    container_name: jellyfin
    ports:
      - 127.0.0.1:8096:8096/tcp
      - 127.0.0.1:7359:7359/udp
    volumes:
      - ./data/config:/config:rw
      - ./data/cache:/cache:rw
      - type: bind
        source: data/media
        target: /media
    restart: 'unless-stopped'
    # Optional - may be necessary for docker healthcheck to pass if running in host network mode
    extra_hosts:
      - 'host.docker.internal:host-gateway'
EOF
And let’s start it up
docker compose up -d
This should start the jellyfin container. We can take a look at its status:
pawan@playground:~/s/jellyfin$ docker ps
CONTAINER ID   IMAGE               COMMAND                CREATED         STATUS                   PORTS                                                NAMES
c99b57301ca3   jellyfin/jellyfin   "/jellyfin/jellyfin"   2 minutes ago   Up 2 minutes (healthy)   127.0.0.1:7359->7359/udp, 127.0.0.1:8096->8096/tcp   jellyfin
Great! It’s up and healthy. Oh, let’s not forget to add a reverse proxy entry for this:
Add to the end of /etc/caddy/Caddyfile:
jellyfin.yourdomain.tld {
    reverse_proxy 127.0.0.1:8096
}
We are proxying to 8096 as that is the port we expose from the docker container.
And then we’ll restart Caddy to have the new endpoint be available:
systemctl restart caddy
Now navigate to the domain you just configured in your browser for the initial setup.
Setup Jellyfin
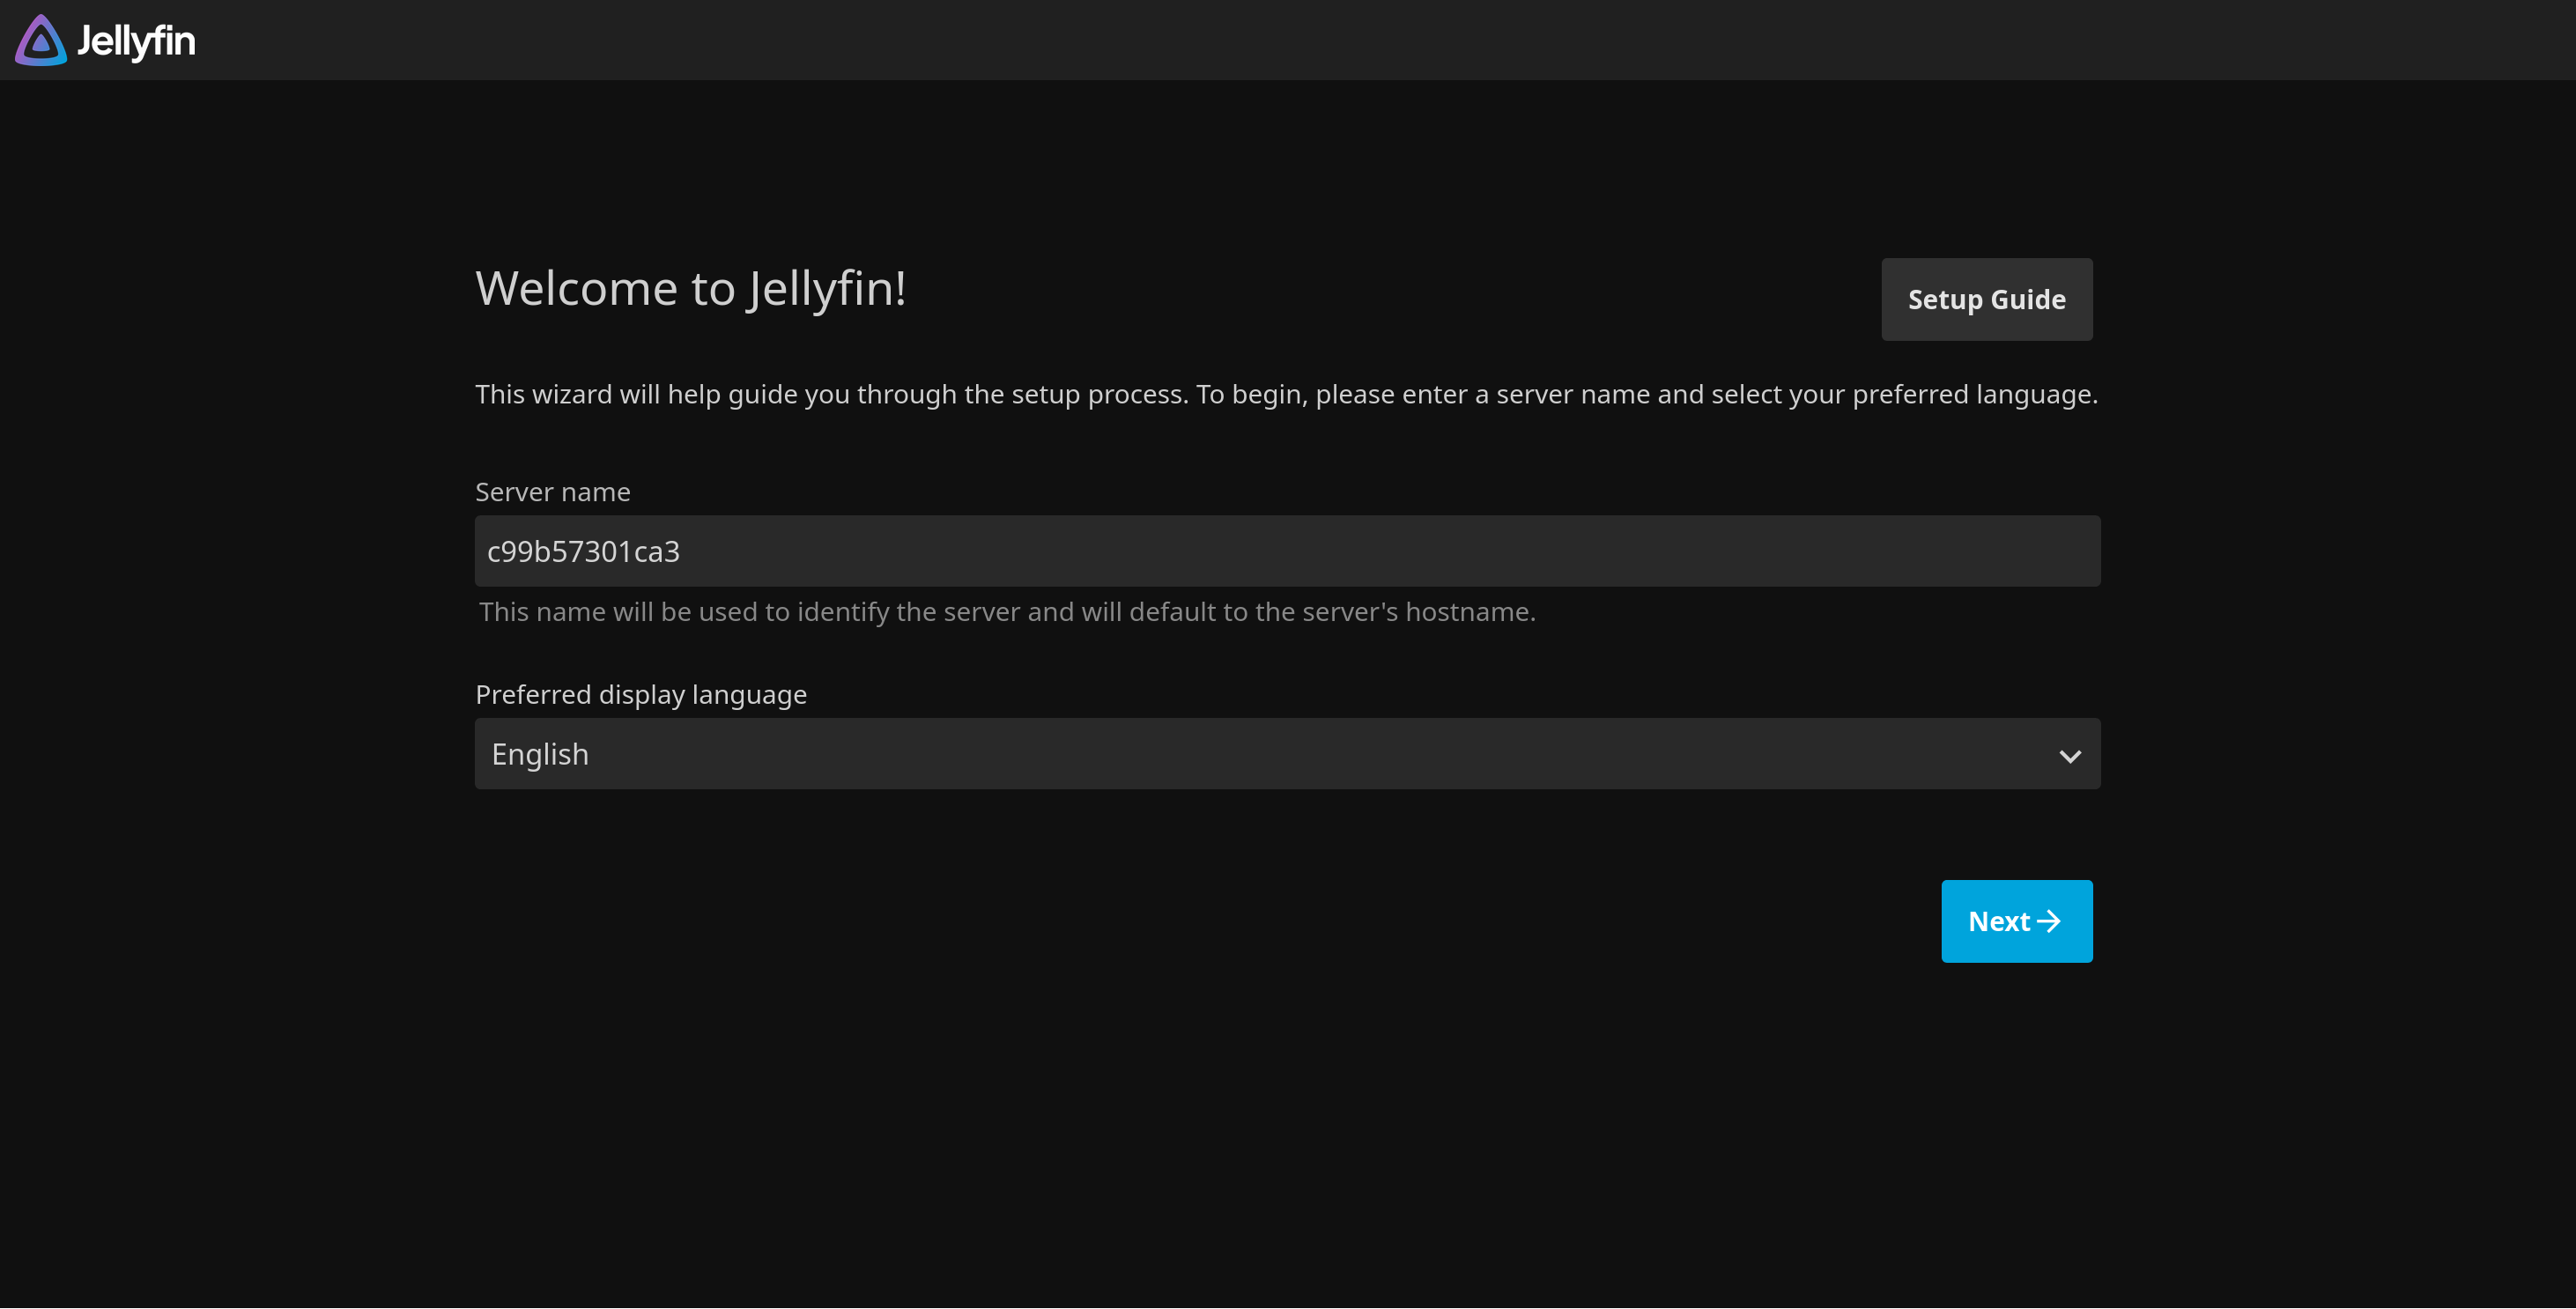
You’ll be greeted with a prompt to specify the name of the Jellyfin instance and choose your language.
In the next screen, you will be prompted to create an admin account. This will be a full access account which will allow creating more users, configuring access to libraries etc.
Then, we’ll be asked to create our first library. To proceed with this, we should first add some media to our media directory we created above so we can later tell Jellyfin about it!
Create Library
In your VM:
Create a music subdirectory under media:
mkdir jellyfin/data/media/music
And then copy over albums you have to that directory.
Jellyfin wants each album to be its own directory as a requirement. They can also be subdirectories to an
artistlevel top directory. Basically, you have a lot of freedom in organising the media as long as you don’t dump songs from multiple albums in the same directory!
For demonstration purposes, I’ll use Polygondwanaland as our album.
After you’ve copied over the album, the structure should look something like so:
pawan@playground:~/s/jellyfin$ tree data/media/
data/media/
`-- music
    `-- Polygondwanaland
        |-- 1\ Crumbling\ Castle.wav
        |-- 10\ The\ Fourth\ Colour.wav
        |-- 2\ Polygondwanaland.wav
        |-- 3\ The\ Castle\ In\ The\ Air.wav
        |-- 4\ Deserted\ Dunes\ Welcome\ Weary\ Feet.wav
        |-- 5\ Inner\ Cell.wav
        |-- 6\ Loyalty.wav
        |-- 7\ Horology.wav
        |-- 8\ Tetrachromacy.wav
        |-- 9\ Searching....wav
        |-- Polygondwanaland\ hi_res.jpg
        |-- album.nfo
        `-- folder.jpg

3 directories, 13 files
Now let’s go back to our browser and finish setting up the library.
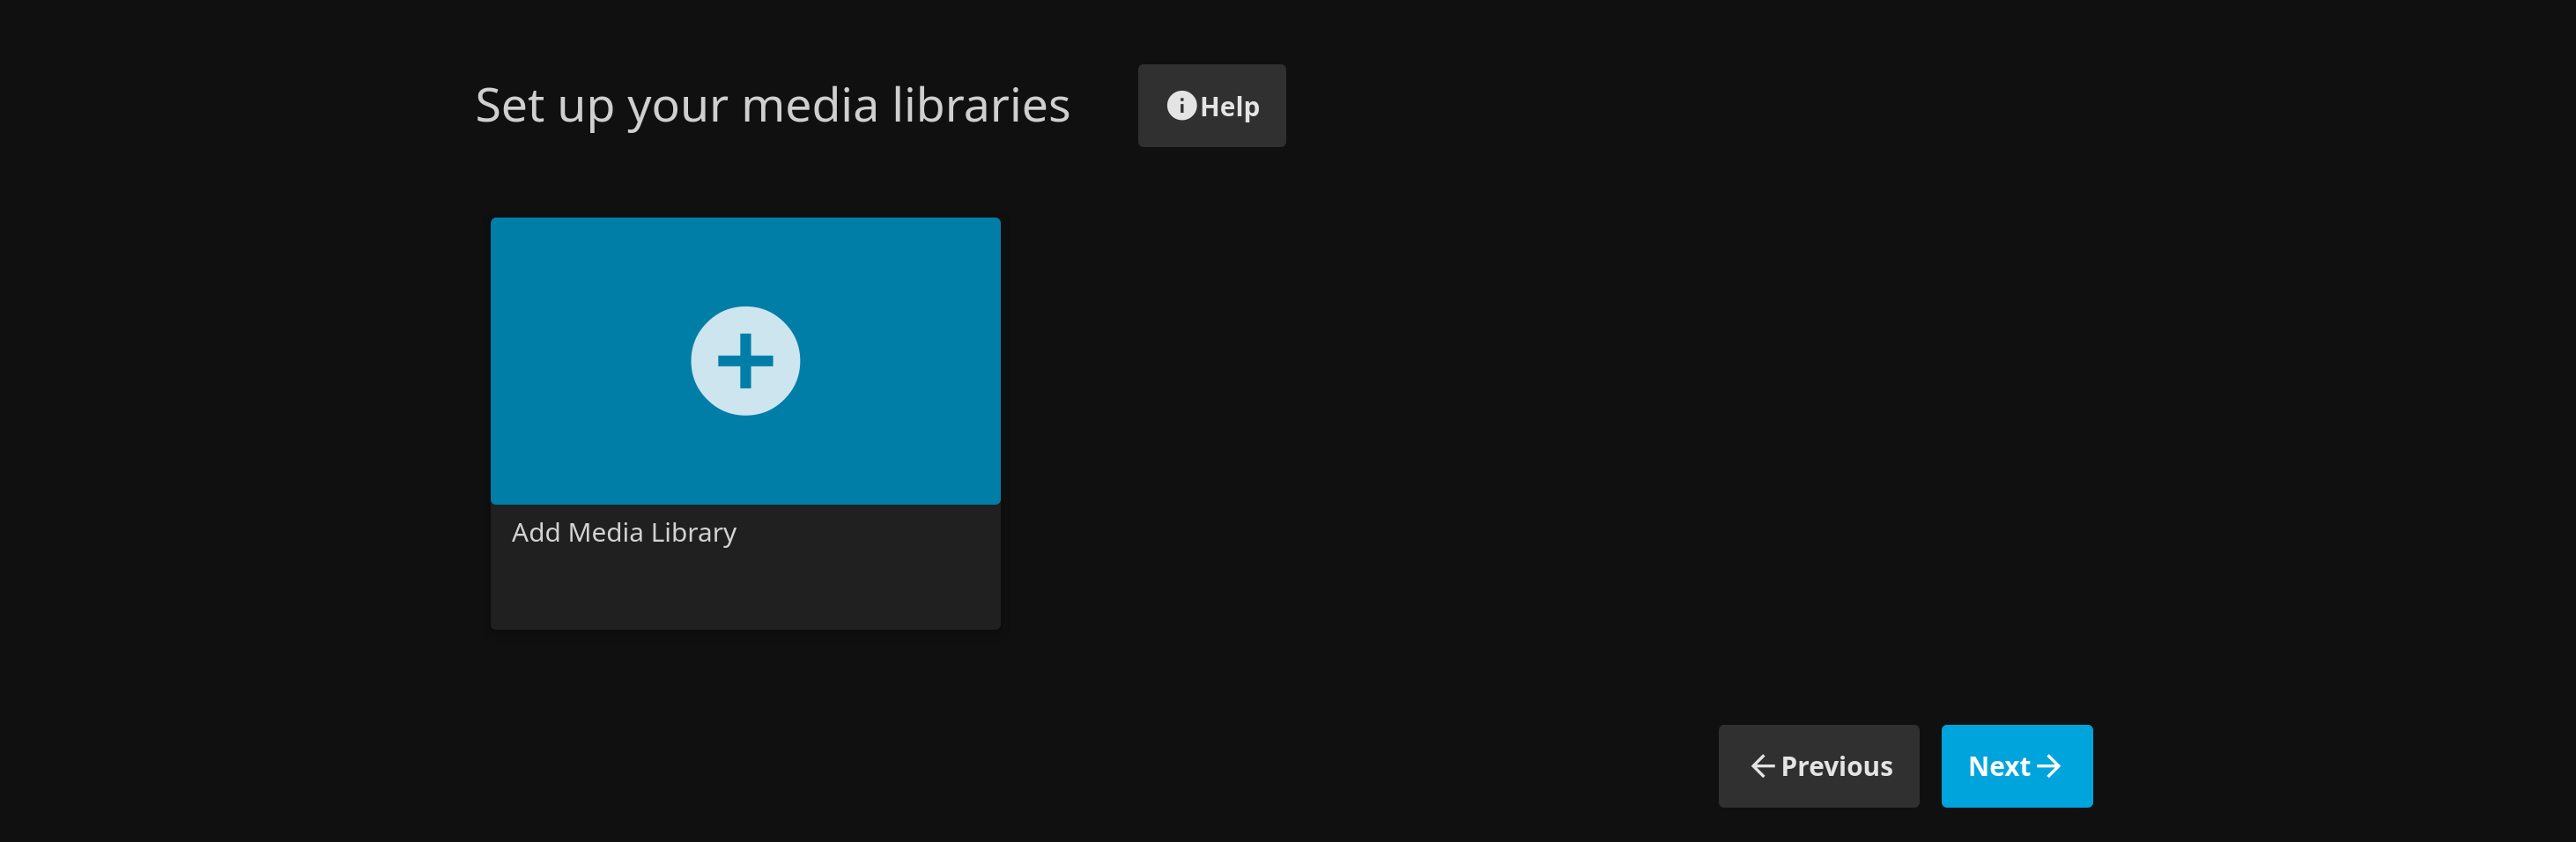
Click on the “Add media library” button, and you’ll get a popup with library details.
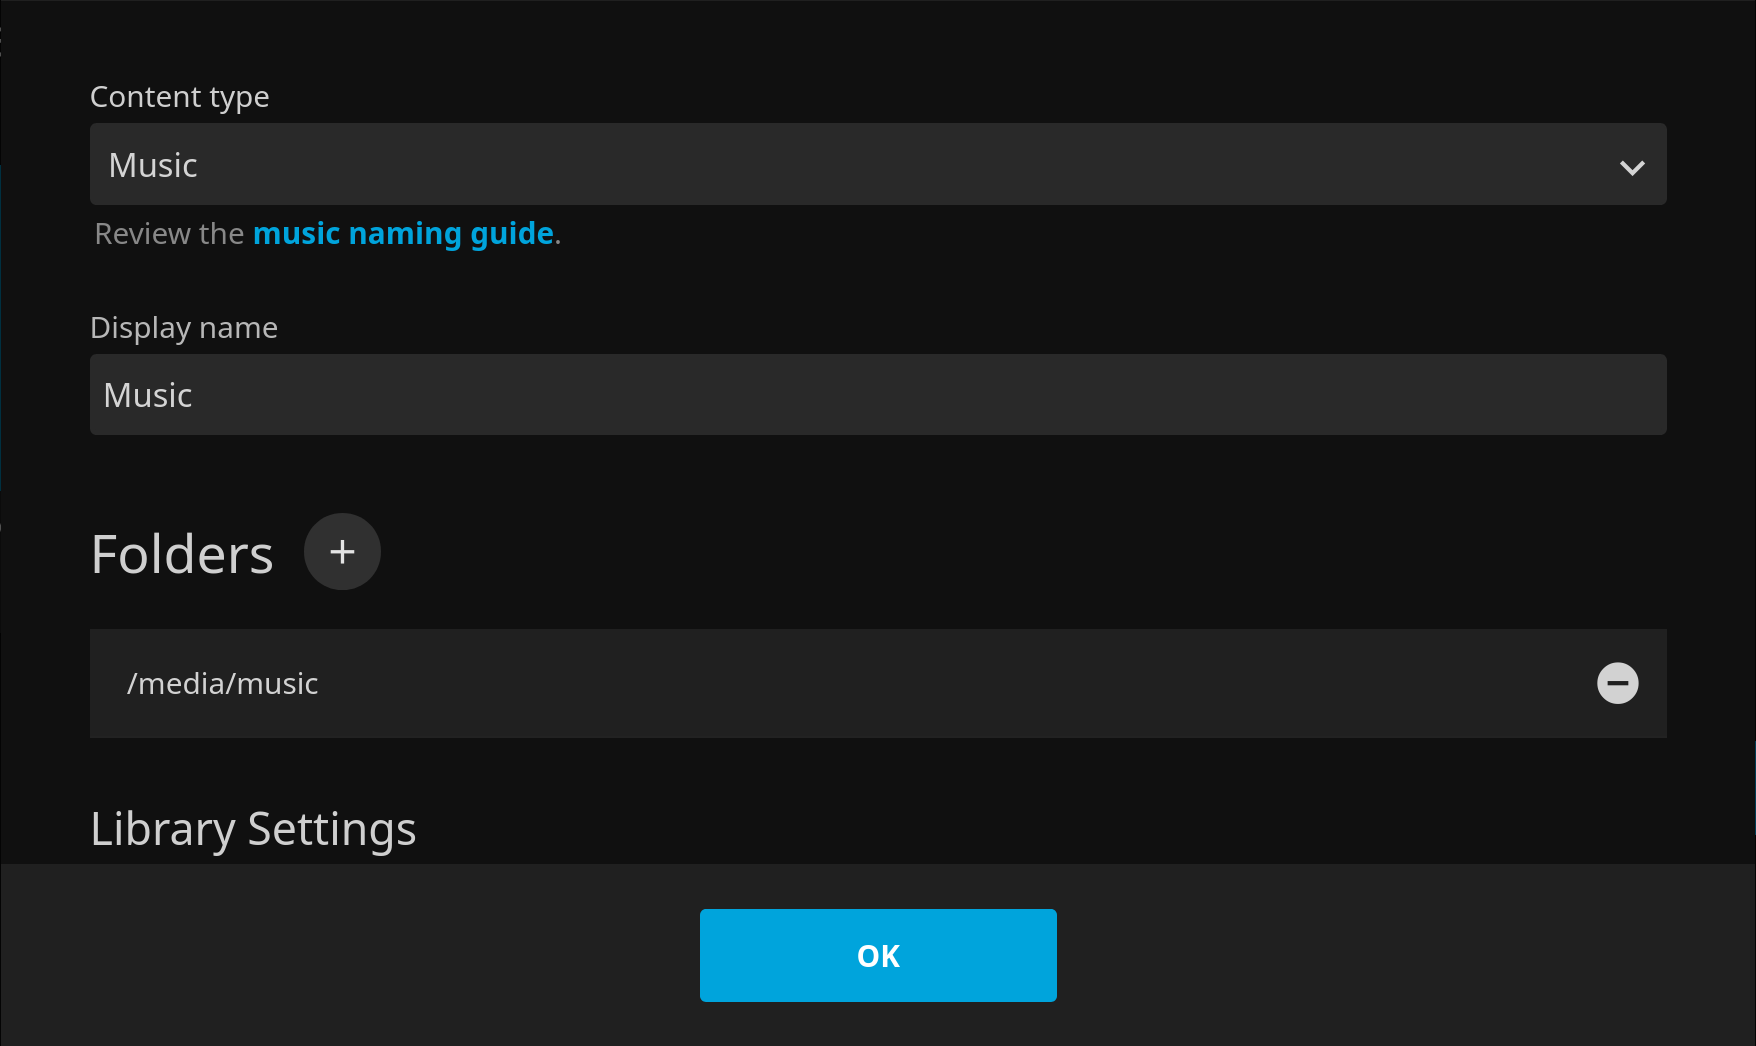
We’ll pick Music from the content type dropdown (this is where you’ll pick TV or Movies for other types of content), and also select our music library location we created earlier (/media/music).
Note that the directory path is internal to the container, so it will show up as
/media/musicsince we mapped our localdata/mediadirectory to the/mediadirectory indocker-compose.ymlabove.
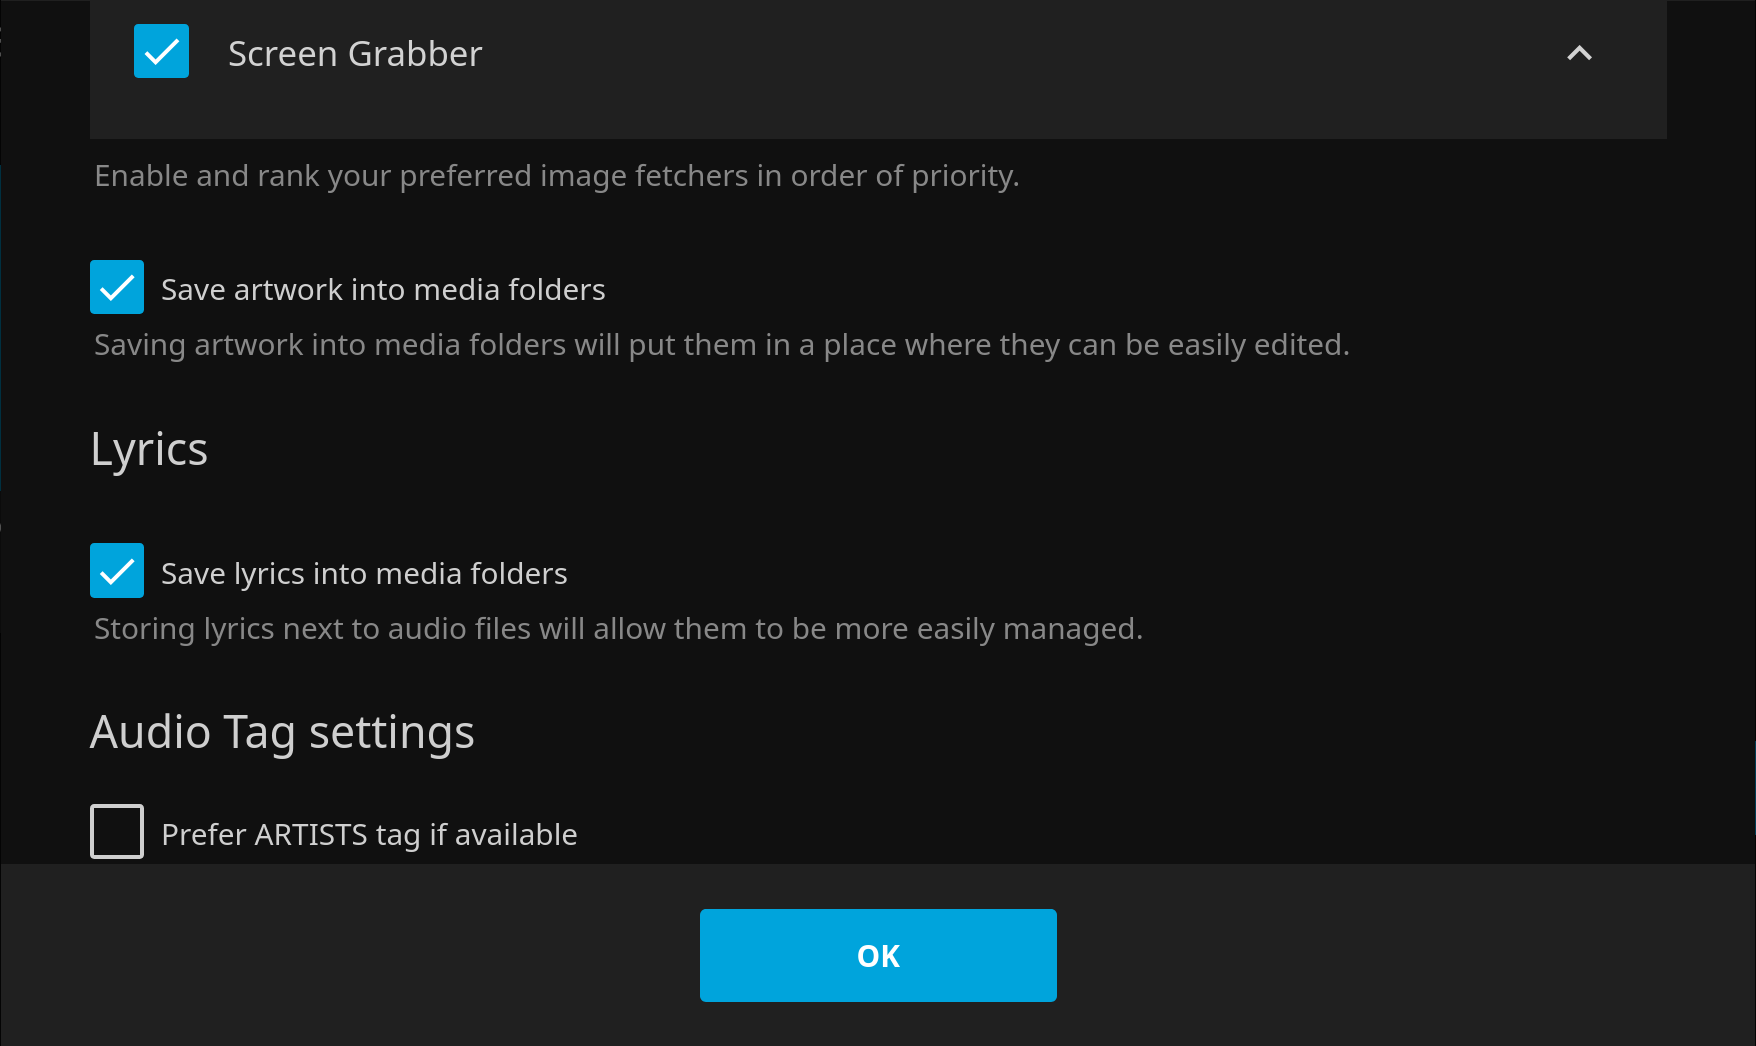
Here we can also consider other options. I recommend you select the option to save album art and lyrics into the media folders as shown below. This will make it easier to move your library around in the future without having to redownload everything.
Press OK. Jellyfin will show your new library in the list. You can continue creating libraries for other kinds of content here. For now, we’ll click next.
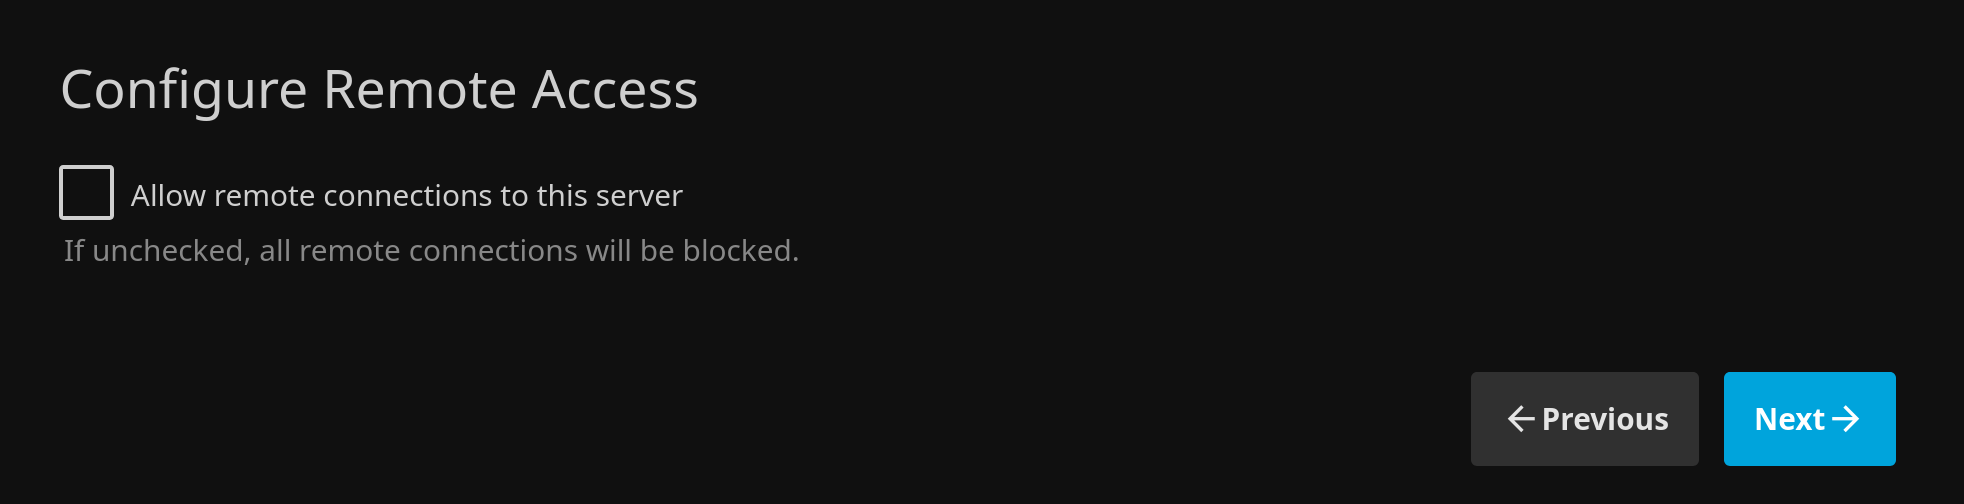
Jellyfin will prompt you to enable/disable remote access. This is a bit misleading. Remote access is for Jellyfin to be able to directly be accessible from remote networks. Since we will be running behind a reverse proxy, and the ports are only exposed on the local network we don’t need this feature. We will uncheck this option. We will still be able to access Jellyfin at our configured domain.
Identification
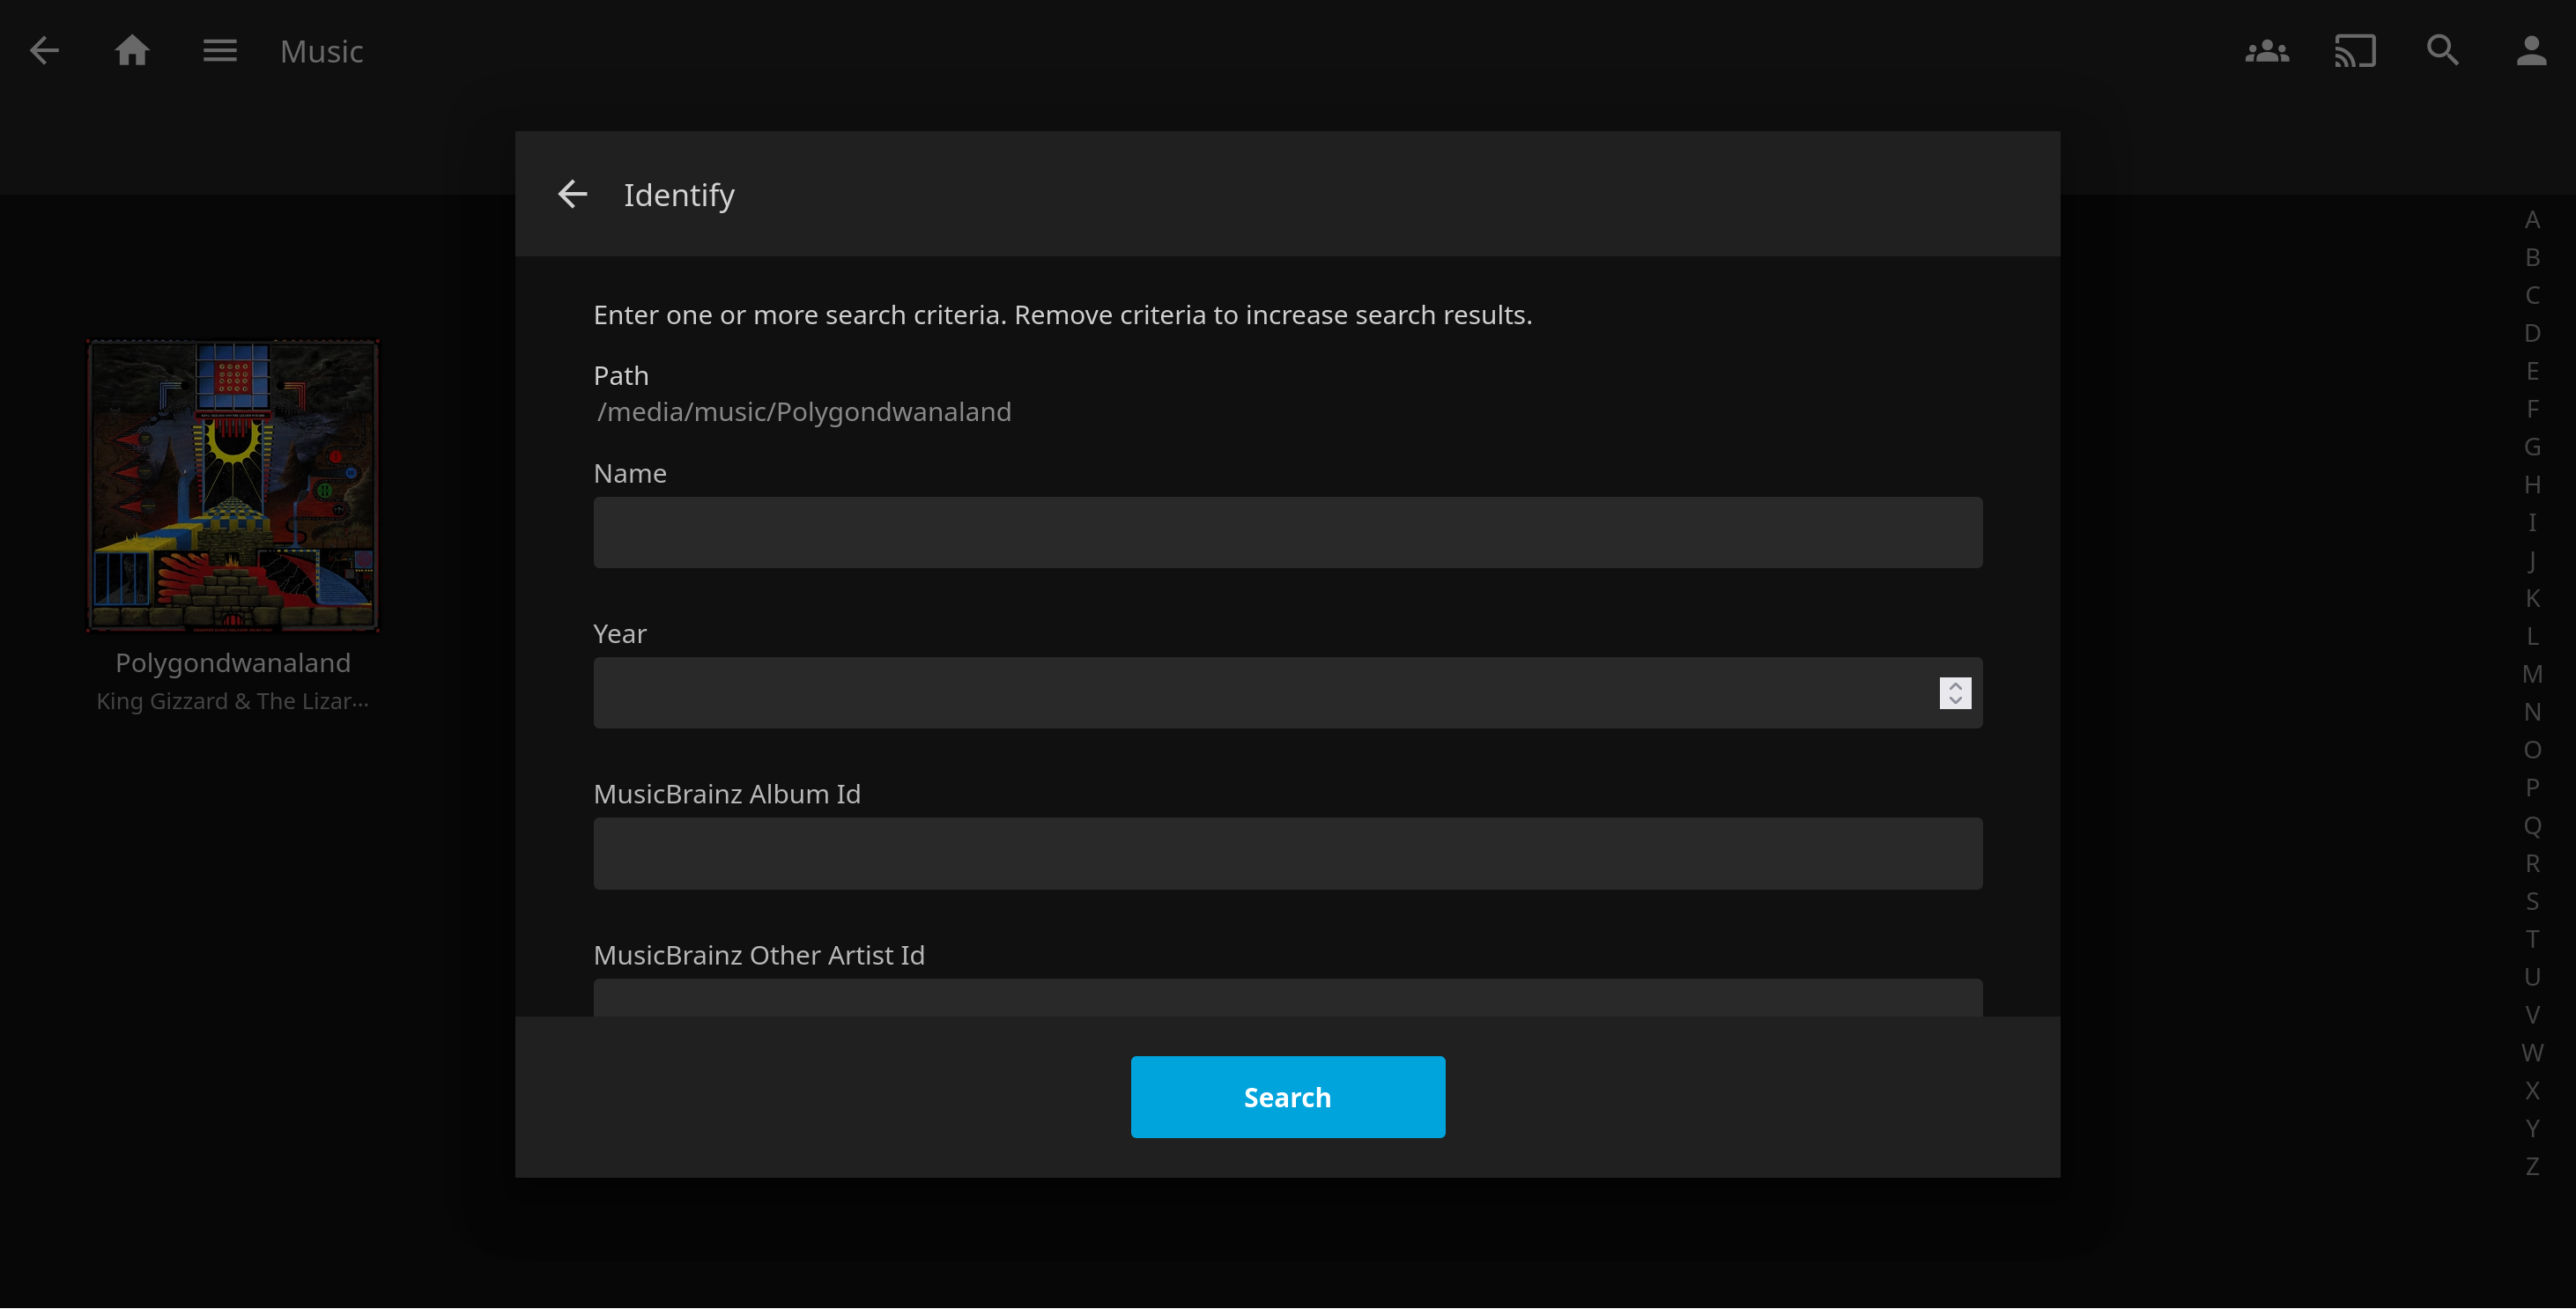
Once you hit done you should be done! However Jellyfin had trouble identifying the album, so I had to give it some help. Click on the three dots on the album cover, then click Identify and then fill in some details. The most helpful detail is if you tell Jellyfin about the Musicbrainz album ID. For this particular album, that was the last part of this URL: https://musicbrainz.org/release/3358df7e-b147-4481-b8f2-0a4e5d79d213
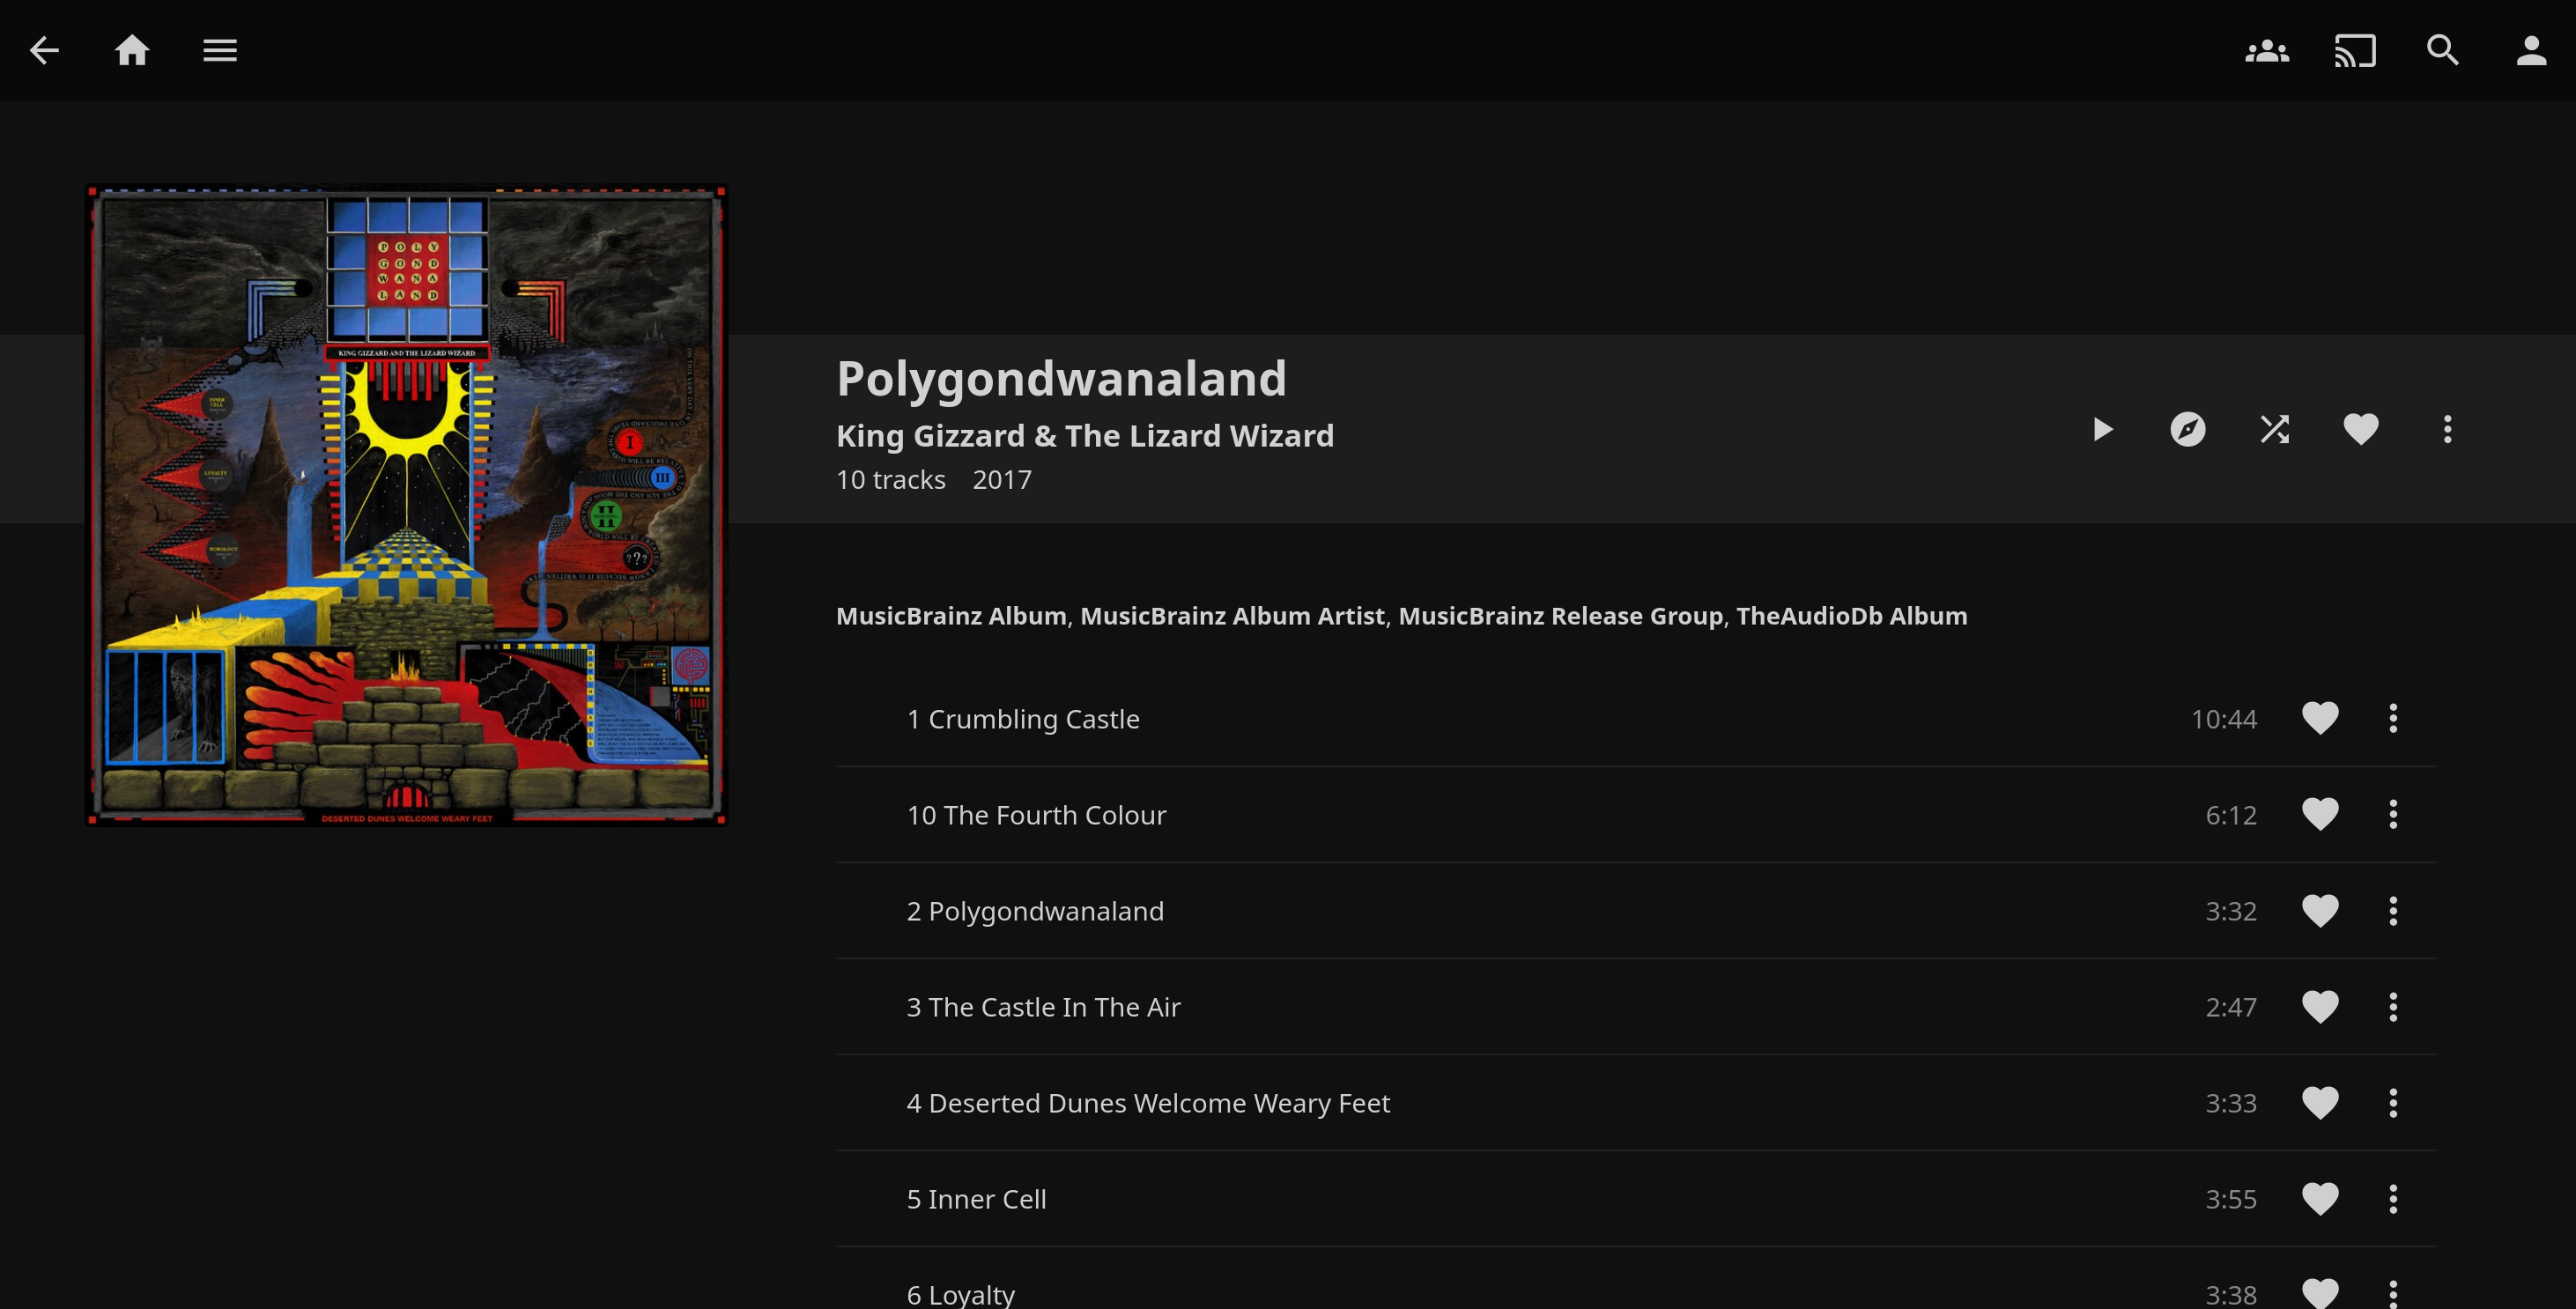
Setting that up did the trick, but I suspect that renaming the album folder with the prefix of the artist name could also have done the trick.
Setup non-admin account
While we are here, we should probably set up a non-admin account.
Click on the hamburger menu from the Jellyfin home page and click on Settings. Navigate to Administration > Dashboard and click Users on the sidebar.
This will allow you to create new users and set up access to libraries for them. Hit save. This will bring us to the profile page for the user where we can customize permissions and access further. We will leave it at the default settings for our purposes.

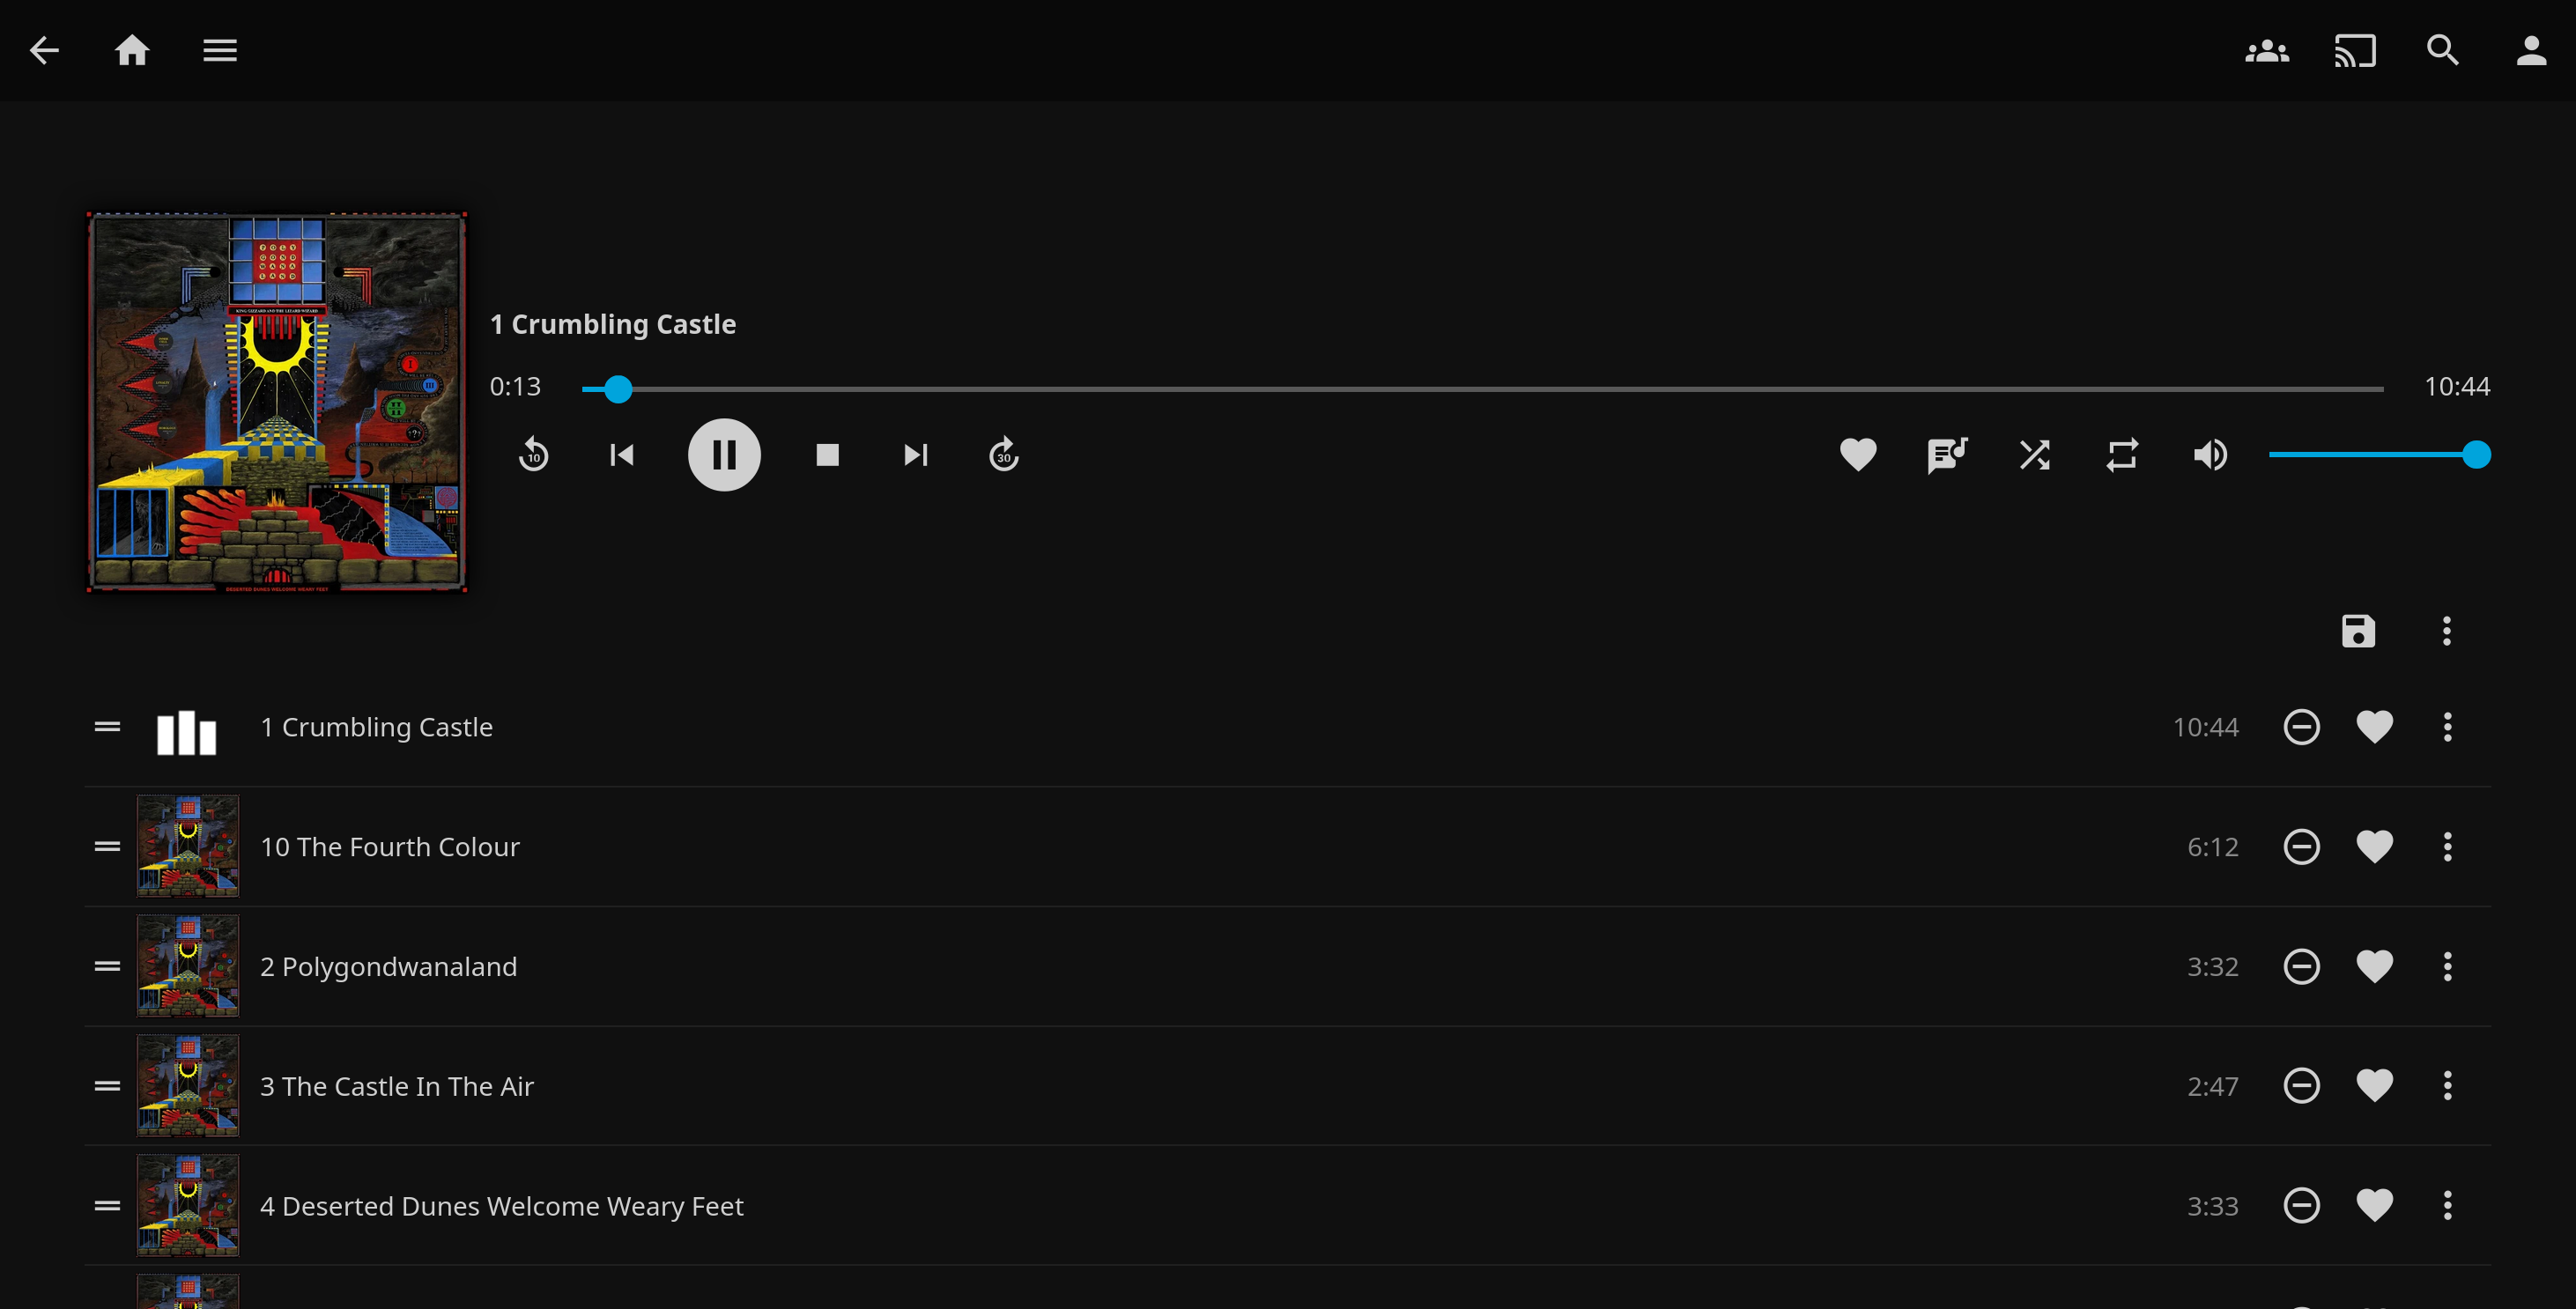
Now we are done! You can continue by downloading one of the official clients and signing in with the user you created to enjoy your music outside of the browser.
Conclusion
Jellyfin is an impressive system that can handle multiple kinds of media - including books - and also take advantage of hardware transcoding to live-transcode media using your GPU, but that’s outside the scope of this post.
Do take a look at the official documentation which is quite extensive.
Thanks for reading this far, and follow along for future posts in #Self-hostember . You can now follow us on Mastodon to keep up to date with us as well!